Smart Wishlist
Adding wishlist functionality to your store enhances user engagement and allows customers to save products for future purchase consideration. This technical documentation outlines the steps to integrate wishlist icons using the "Smart Wishlist" app within Findify's Shopify app built with Liquid.
Adding Wishlist Icon on Product Card
Step 1: Installation
Begin by downloading and installing the Smart Wishlist app from the Shopify Apps store.
Step 2: Add Grid Search Snippet
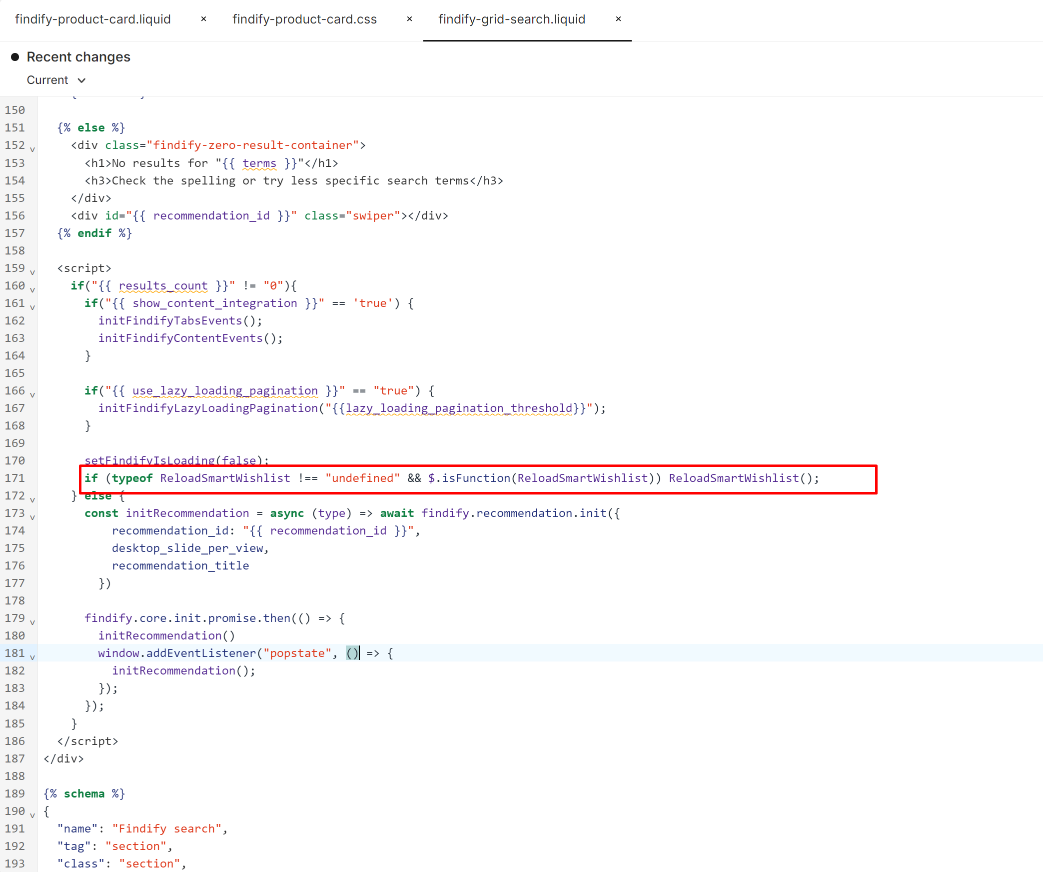
Add the below code snippet to the findify-grid-search.liquid file to ensure the Smart Wishlist functionality is loaded when Findify is initialized.
if (typeof ReloadSmartWishlist !== "undefined" && $.isFunction(ReloadSmartWishlist)) ReloadSmartWishlist();
Step 3: Add Product Card Snippet
Insert the following code snippet into the appropriate location within the findify-product-card.liquid file to display the wishlist icon on product cards.
<span class="smartwishlist" data-product="{{ product.id }}" data-variant="{{ product.variants.first.id }}"></span>
Step 4: Styling (Optional)
If necessary, apply styles to the wishlist icon by adding the provided CSS code to the findify-product-card.css file.
.smartwishlist {
	position: absolute;
  top: 5px;
  left: 5px;
  z-index: 10 !important;
  display: flex;
  margin: 0;
  max-width: max-content;
}
Step 5: Configuration
Visit the Smart Wishlist app page to access a variety of settings and configurations. For detailed instructions, refer to the Smart Wishlist support documentation.
Adding Wishlist Icon in Navigation Bar
For adding wishlist icons in the navigation bar, refer to the documentation provided here.
Conclusion
By following the steps above, you can seamlessly integrate Smart Wishlist icons into your Shopify store using Findify's Shopify app. Enhance user experience and encourage customer engagement by providing convenient wishlist functionality.
For further assistance or inquiries, feel free to contact us on [email protected].
Updated over 1 year ago