Findify Gateway
Empowering version control, simultaneous users, and the ability to work via your preferred IDE.
The Findify Gateway revolutionizes the development process for web agencies working on ecommerce stores. This powerful tool provides a streamlined workflow, allowing developers to work efficiently with Findify's search, merchandising, and recommendations components.
In this article, we will explore what the Findify Gateway is, its main benefits, who can use it, and how to start using it.
What is the Findify Gateway?
The Findify Gateway is a local preview function that enables developers to seamlessly work with Findify's Merchant JavaScript Library (MJS) components. It acts as a bridge between the developer's local files and the local version of the website, providing a real-time preview of the changes being made.
With the Findify Gateway, developers can efficiently customize and tailor Findify's components to meet the specific needs of their clients' ecommerce stores.

Gateway benefits include efficient development, version control, and multi-developer collaboration
- Efficient Development: The Findify Gateway enhances the development process by allowing developers to work with Findify's components directly from their favorite Integrated Development Environment (IDE). This eliminates the need to use a browser-based console, providing a more familiar and efficient coding environment.
- Version Control: With the Findify Gateway, developers can leverage the power of Git and GitHub for version control. Changes made to the components can be easily managed through branches, pull requests, and commits, enabling better collaboration and the ability to roll back to previous versions if needed.
- Multi-Developer Collaboration: The Findify Gateway enables two developers to work on the same project simultaneously. Through branch-based development and pull requests, these two team members can collaborate seamlessly, making it easier to distribute tasks and speed up the development process.
Who can use the Findify Gateway?
The Findify Gateway is designed for web agencies working on ecommerce stores. It empowers developers and agencies who are utilizing Findify's components to deliver exceptional search, merchandising, and recommendation solutions to their clients.
Whether you are a seasoned React developer or new to the framework, the Findify Gateway provides a flexible workflow that caters to diverse skill sets.
How to start using the Findify Gateway
To start using the Findify Gateway, first get in contact with us via [email protected].
Then, the following steps will take place:
- Repository Creation: We will create a new repository within the Findify organization that corresponds to the merchant's name folder. This repository will serve as the workspace for the Findify components.
- Repository Configuration: In the repository settings, we will add up to two collaborators who will be working on the project and grant them write access to the repository. We will additionally set up a webhook that connects to the compilation server, enabling automatic updates when new commits are pushed to the main branch.
- Installation: On your end, you will first need to install the Findify Gateway extension. Here is how to download it:
- Download the extension zip file and unzip it.
- Go to
Chrome Browser -> Options (3 dots in the top right corner) -> Extensions -> Manage ExtensionsOR click use this shortcut: chrome://extensions/ - Enable
Developer Modein the top corner. - Click on
Load unpackedand select thebuildfolder extracted from the zip file - You have the Extension installed!
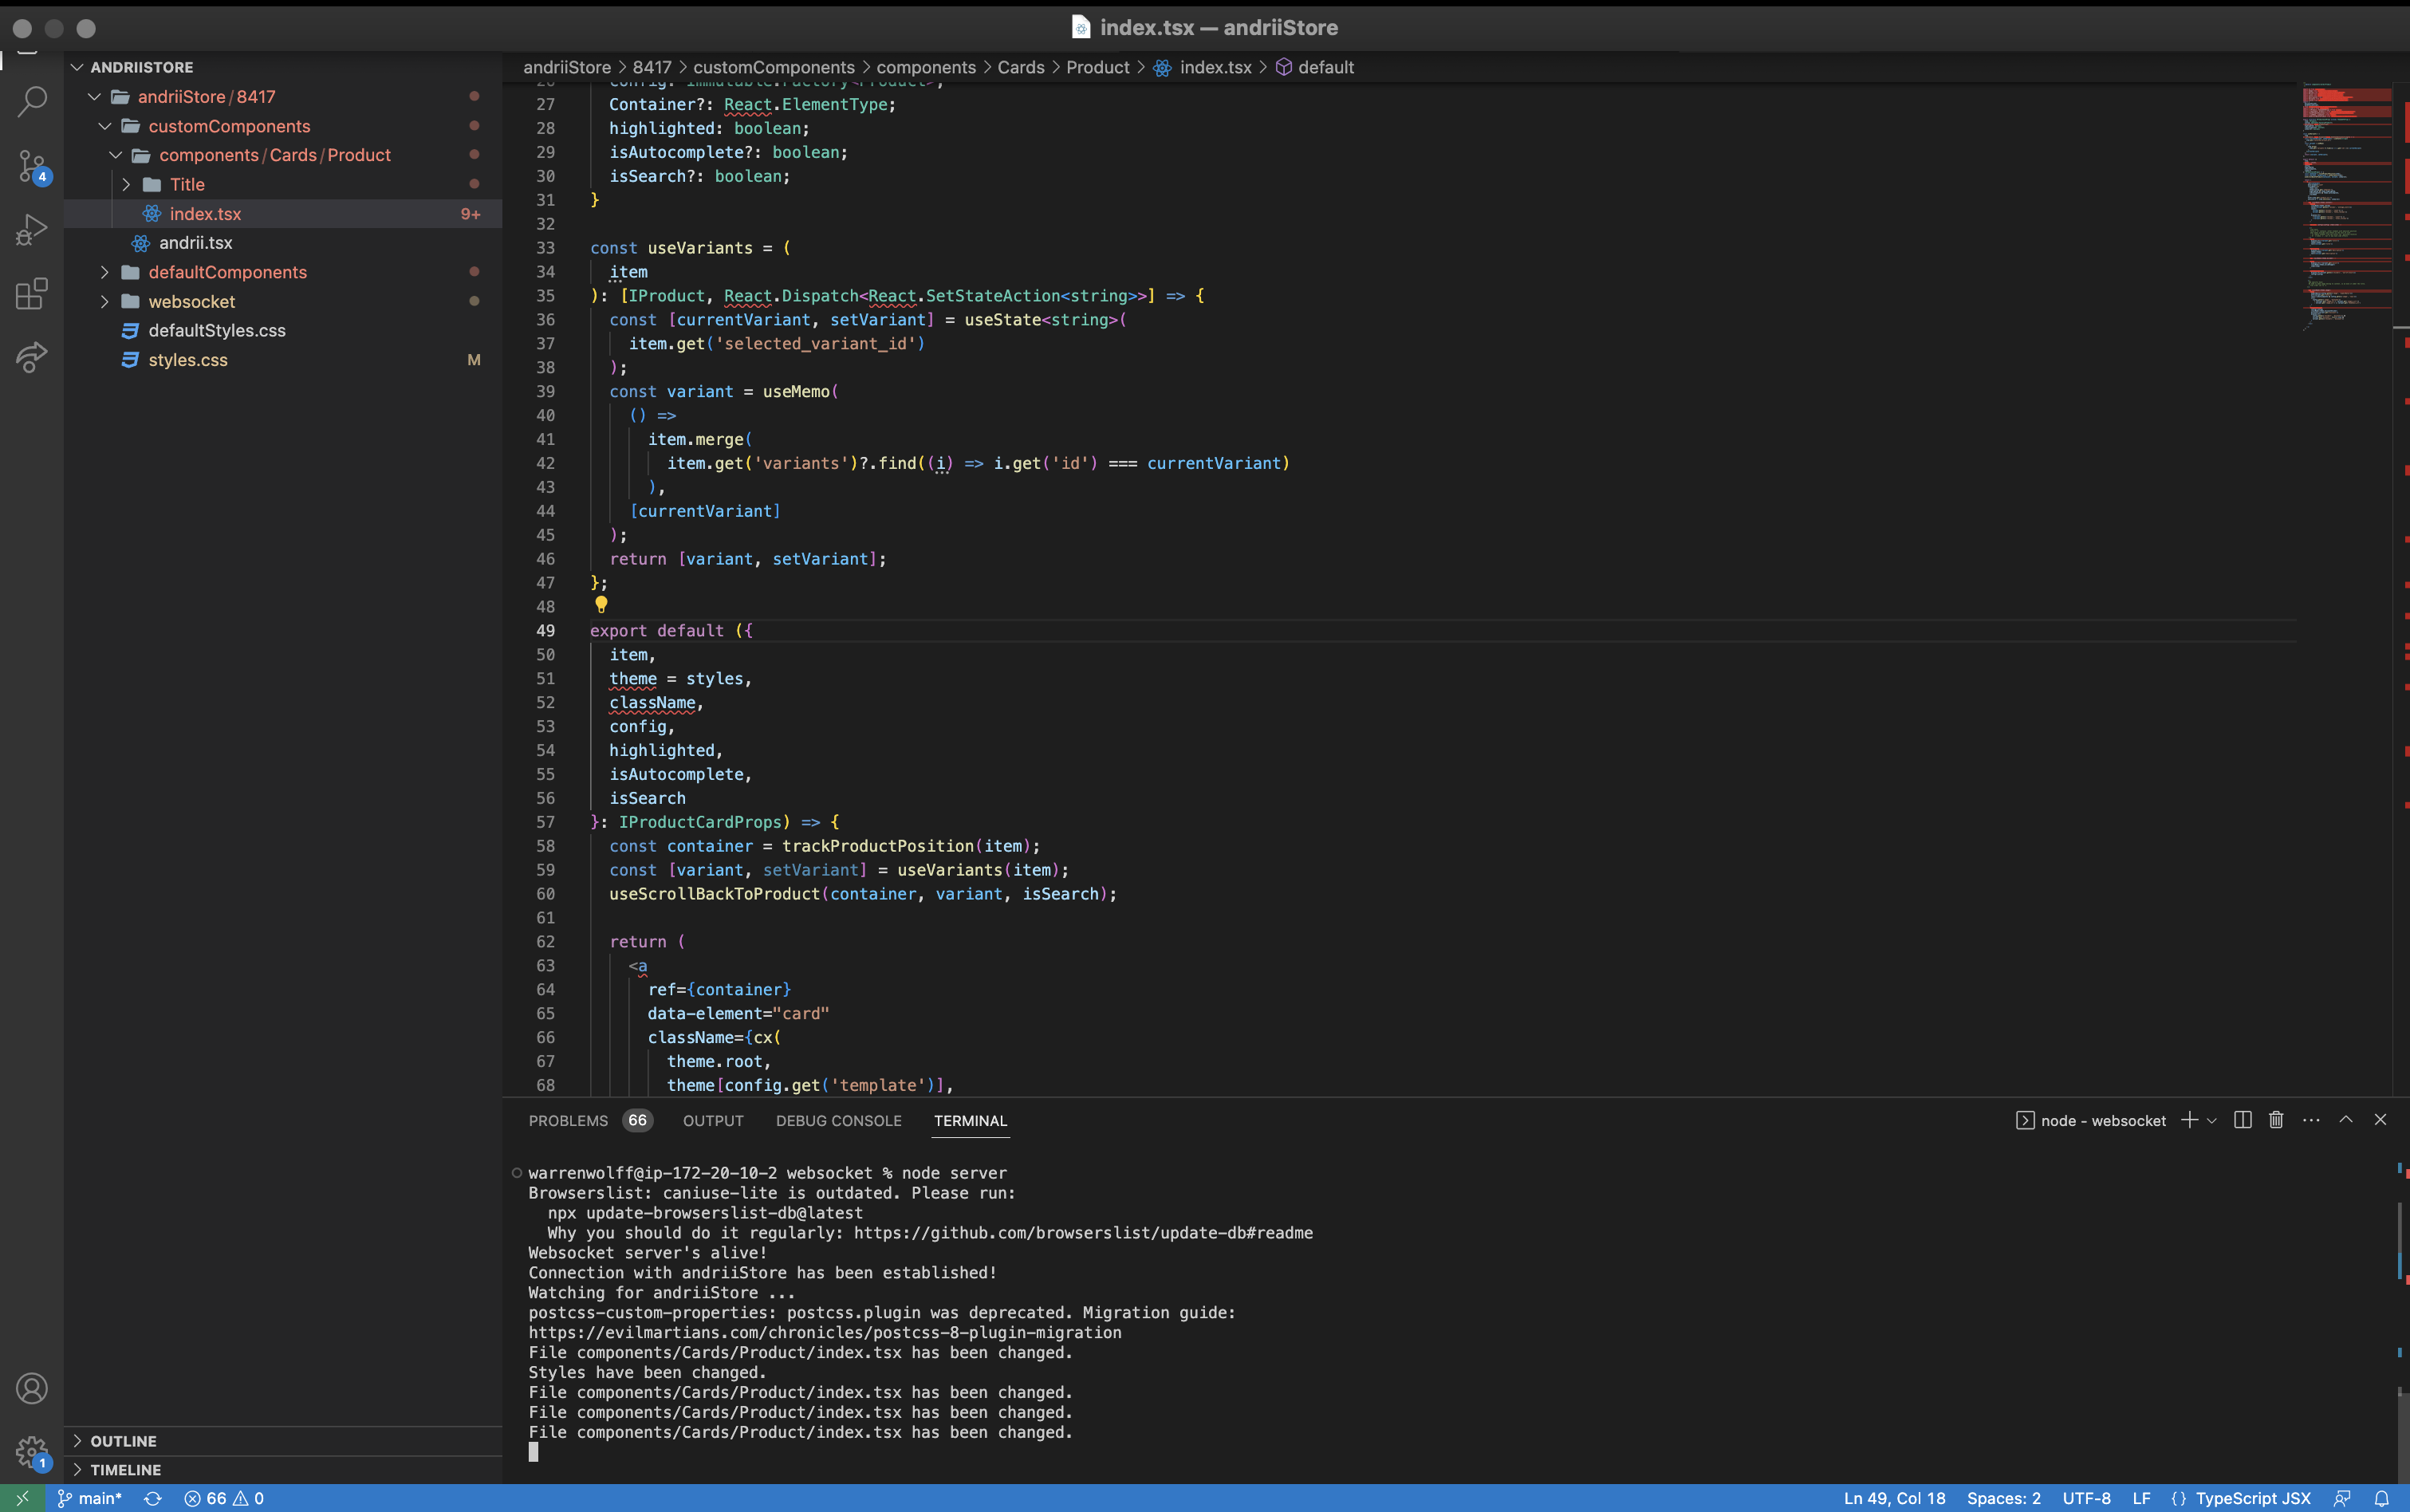
- Workflow: Open your preferred IDE, navigate to the merchant's websocket folder within the cloned repository and run the command: node server, and start the Findify Gateway server by running the appropriate commands. Connect to the store using the Findify Gateway extension in your browser, establishing a live connection between your local files and the store's components.
- Development: Make changes to the Findify components using your IDE, preview the results in real-time through the Findify Gateway, and iterate until you are satisfied with the modifications.
- Version Control and Deployment: Use Git commands to add your changes, commit them, and push them to the repository. Utilize branches, pull requests, and merges to manage the codebase and deploy the changes to the live components when ready.
Initialization
Simply clone the repository that the team have invited you to. The access will be shared by Findify Team
git clone <repository-url>
Folder structure and notions
customComponents
Customized default components, it will contain overwritten default components if you choose to customize it.defaultComponents
Default MJS components.websocket
Contains core logic and core files, no changes here are expected. Here we handle the connection and the transpilation of your changes.defaultStyles.css
Same asdefaultComponents, there isdefaultStylesthat contains the default MJS styling. You do not need to write any styles in here, rather it will contain the default styles for the reference.styles.css
Here you will add new or overwrite existing styles. Note: only Findify related styles should be included to this file.
Workflow
- To run the server locally, you need to follow the below commands:
cd <merchantNameFolder>
cd <merchant-id>
cd websocket
node server
Attention: Before modifying anything, it is a good practice to always turn ON the node server as illustrated above.
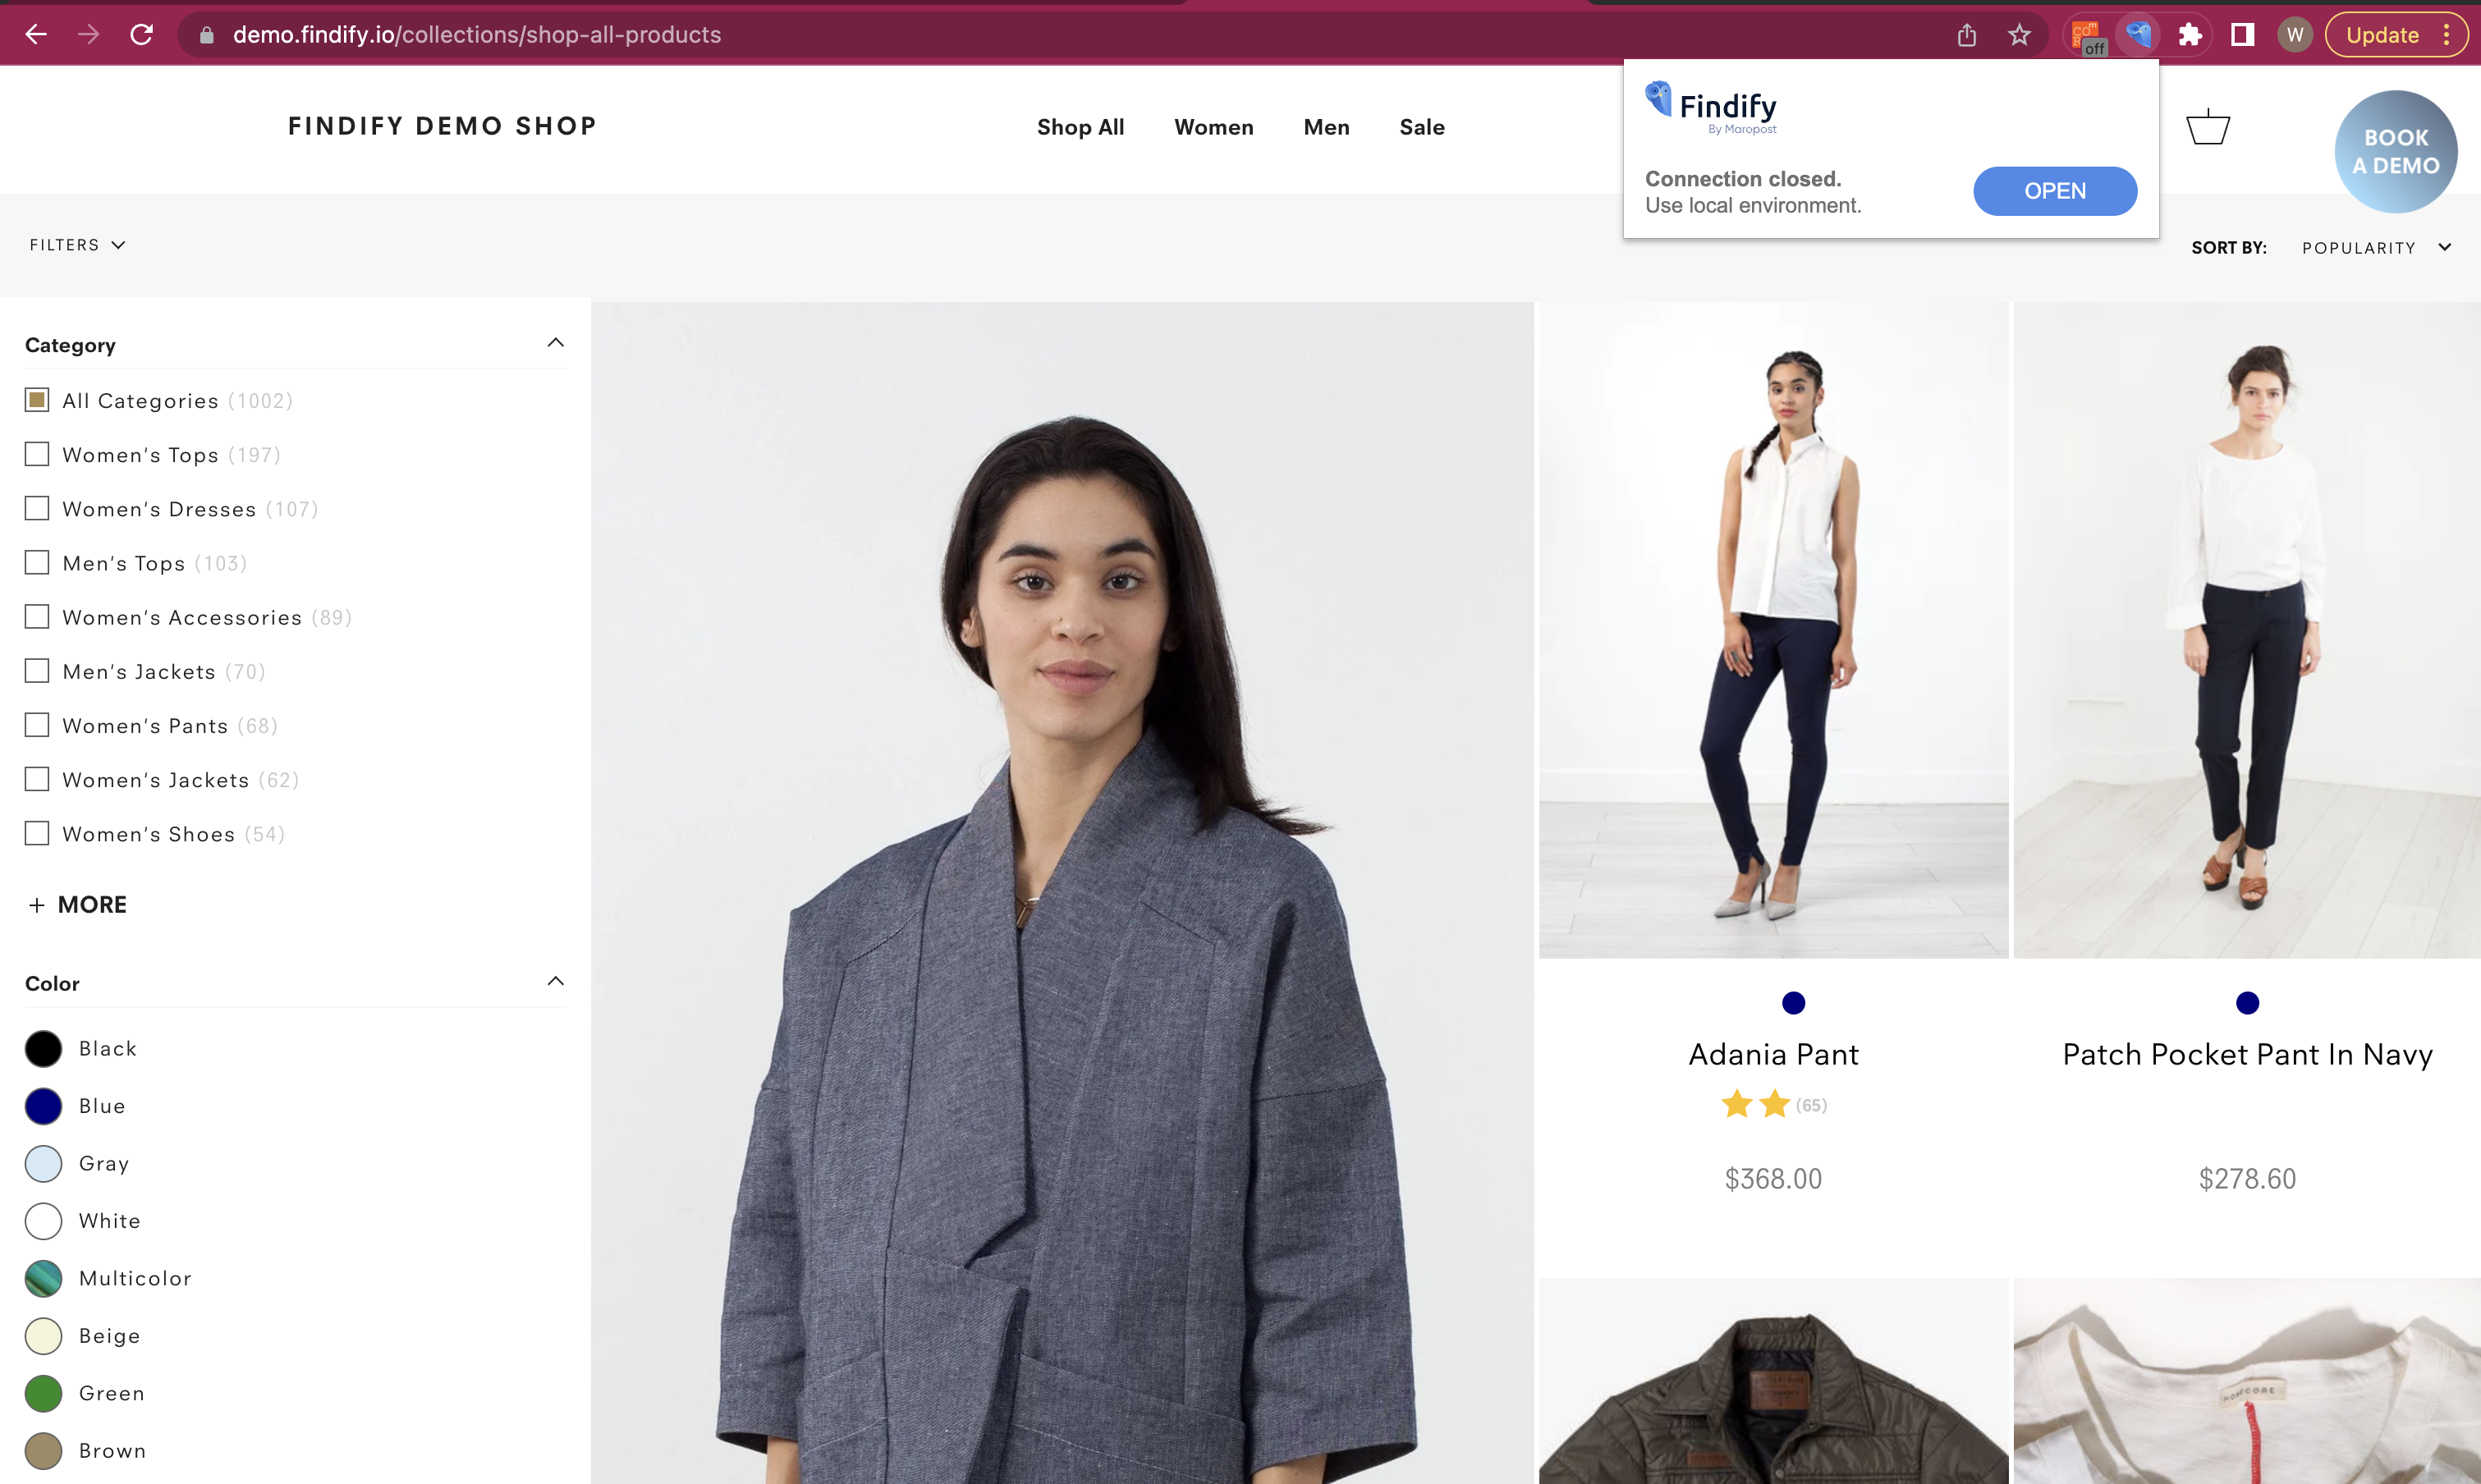
- Proceed to your browser and open your Site. Open the Findify Gateway extension and click OPEN.
In the terminal of your IDE you will see the log that a connection has been established and that the store is injecting the components. You are ready to customize your store!
How to customize and review components
- Whenever you update any component or styles, with every save you will see the changes immediately appear locally on your storefront. This will allow you to preview the work.
- In order to create custom components (not modify existing ones), you need to create a new
.tsxfile within the ROOT FOLDER:
cd <merchantNameFolder>/<merchant-id>/customComponents
Once it is created, you can import the file to any other component in customizations, like this:
import CustomComponent from 'CustomComponent';
Note:
You do not need to provide the path to the custom component as might be assisted by your IDE, just write the custom component filename.
- At the moment, you cannot use any third-party or opensource custom modules in customizations. There are a few that are pre-installed and ready to use, such as:
axios,SwiperJS.
How to deploy the customizations
Once you are happy with your changes, push the new branch to the repository:
// This is git. Best guideline are common-sense. eg. use branches and PRs
git add <your-changes>

git push
// Or
git push -u origin <your-branch>

// Then merge the PR to main to deploy the changes
Below are the files/folders that you need to commit:
customComponentsfolderstyle.cssfile- websocket/transpiled
components.jsonandstyle.jsonfiles
defaultComponents folder and defaultStyle.css file should not be commited.
IMPORTANT:
It is very important that you add
websocket/transpiledfiles with every commit. These are the core files that contain components and styles transpiled and ready to be used by MJS.
Note: The repository requires at least one reviewer to review the Pull Request. If you have only one developer in place, please contact our support [email protected].
Frontend Components
Here, you will find further documentation and samples on how to customize components:
Updated 5 months ago