Placeholder Images in Search Results
In the Findify app for Shopify, if no image is set for the content, a default image placeholder will be displayed.
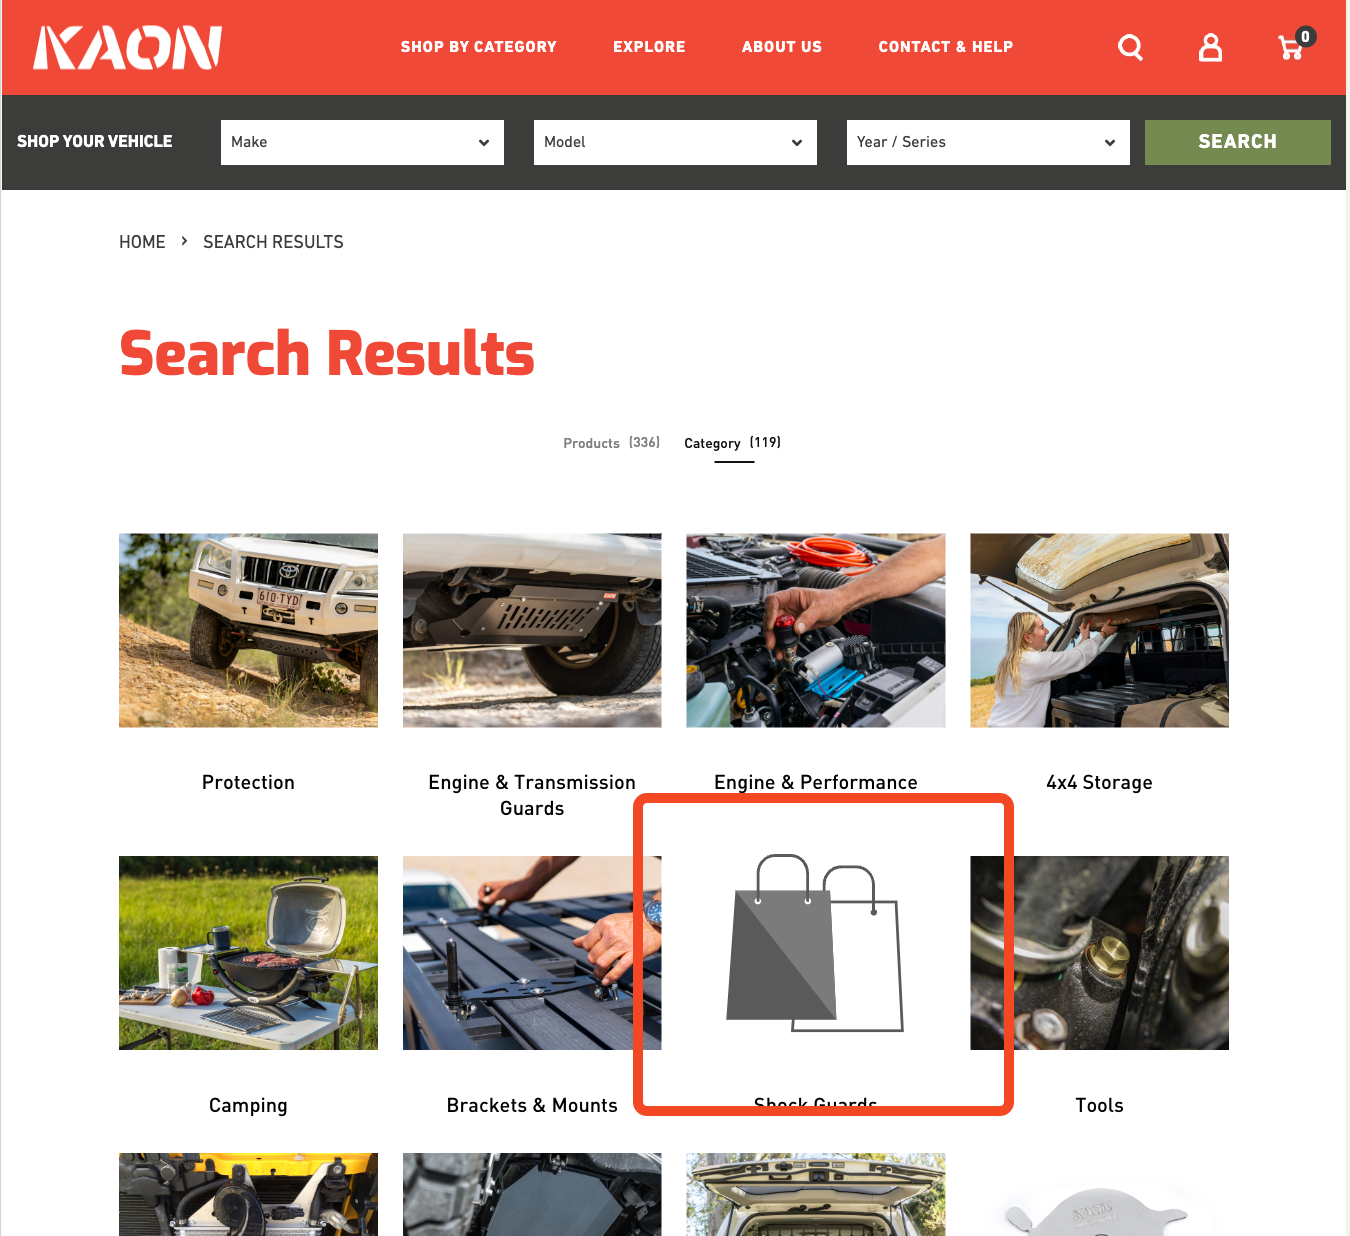
This guide explains how to replace the default image placeholder with a custom image for your store.
Steps to Replace the Default Placeholder Image
Step 1: Locate the Placeholder File
The placeholder image is controlled by the findify-content-image-fallback.liquid file in your Shopify theme.
Step 2: Edit the Placeholder File
- Open your Shopify Admin dashboard.
- Navigate to Online Store > Themes.
- Click on Actions > Edit Code for the theme you are using.
- In the Sections folder, locate the
findify-content-image-fallback.liquidfile.
Step 3: Replace the Default Placeholder Image
- Open the
findify-content-image-fallback.liquidfile. - Replace the existing SVG code with your custom image's SVG code. Ensure that your SVG code is properly formatted.
Here is an example of how the default SVG code might look:
<svg width="100" height="100" xmlns="<http://www.w3.org/2000/svg>" fill="#ccc">
  <rect width="100" height="100"/>
  <text x="50%" y="50%" dominant-baseline="middle" text-anchor="middle" fill="#999">Image</text>
</svg>
Replace it with your custom SVG code. For example:
<svg width="100" height="100" xmlns="<http://www.w3.org/2000/svg>" fill="#your-color">
  <!-- Your custom SVG content here -->
</svg>
Step 4: Save the Changes
- After replacing the SVG code with your custom image, click Save.
Step 5: Verify the Changes
- Clear your browser cache.
- Visit your Shopify store and check the areas where the placeholder image appears to ensure that the new custom image is displayed correctly.
For further assistance or inquiries, feel free to contact us at [email protected].
Updated 9 months ago