Color Mapping
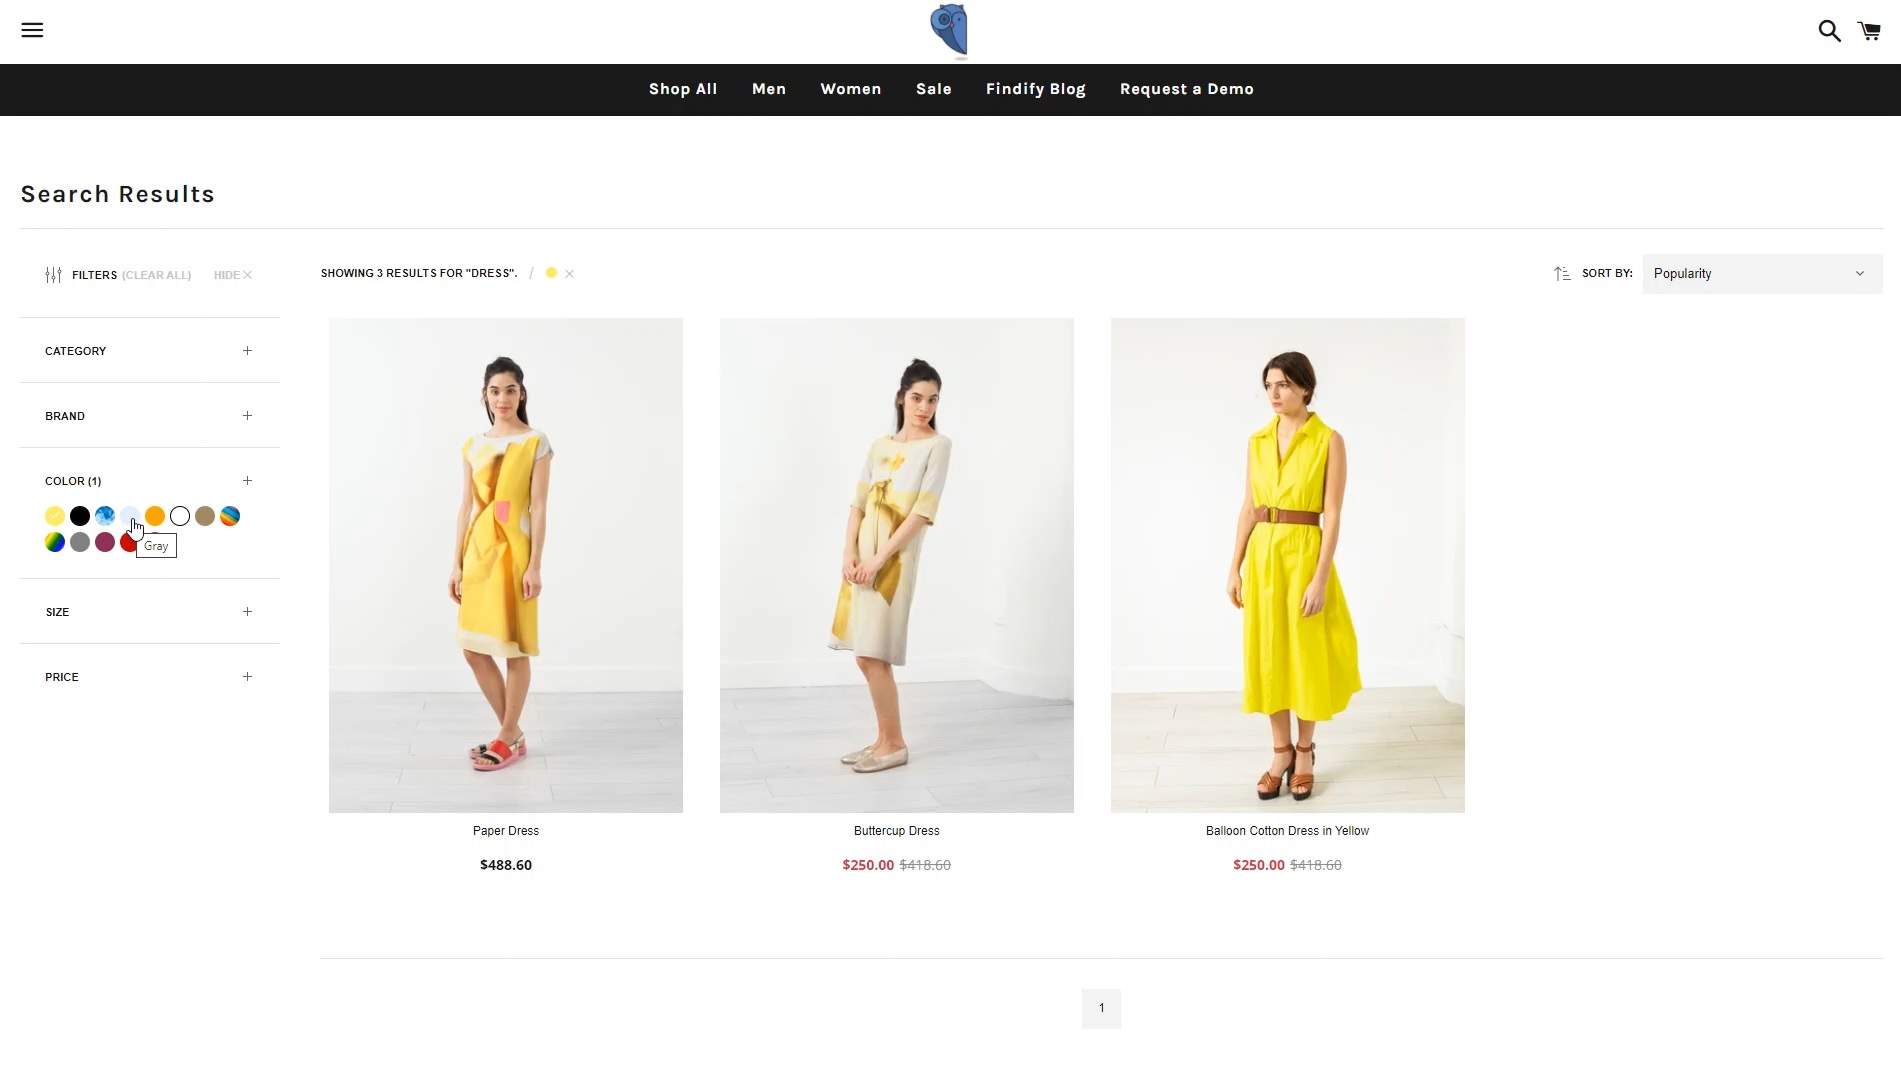
Findify’s extremely useful C olorMapping feature enables shoppers to filter through products simply by clicking on the color (or colors) they are looking for.

What is Color Mapping?
It’s a simple yet powerful tool, where shoppers can immediately select products by color groups - perhaps they’re looking for a red purse to match a pair of red shoes they already own, or perhaps they feel like they look best in blue. This makes product navigation easier for them, which also makes their purchase decisions smoother - which in turn increases revenue for the merchant.
What’s more, with color mapping merchants can separate colors into clear groups instead of having to include every single shade as its own color swatch. Everything you have tagged as Aqua, Turquoise, and Navy, for example, can be grouped together under ‘Blue’, for example, while Mint, Lime, and Olive can be grouped under ‘Green’, and so on.
How to Set Up Color Swatches
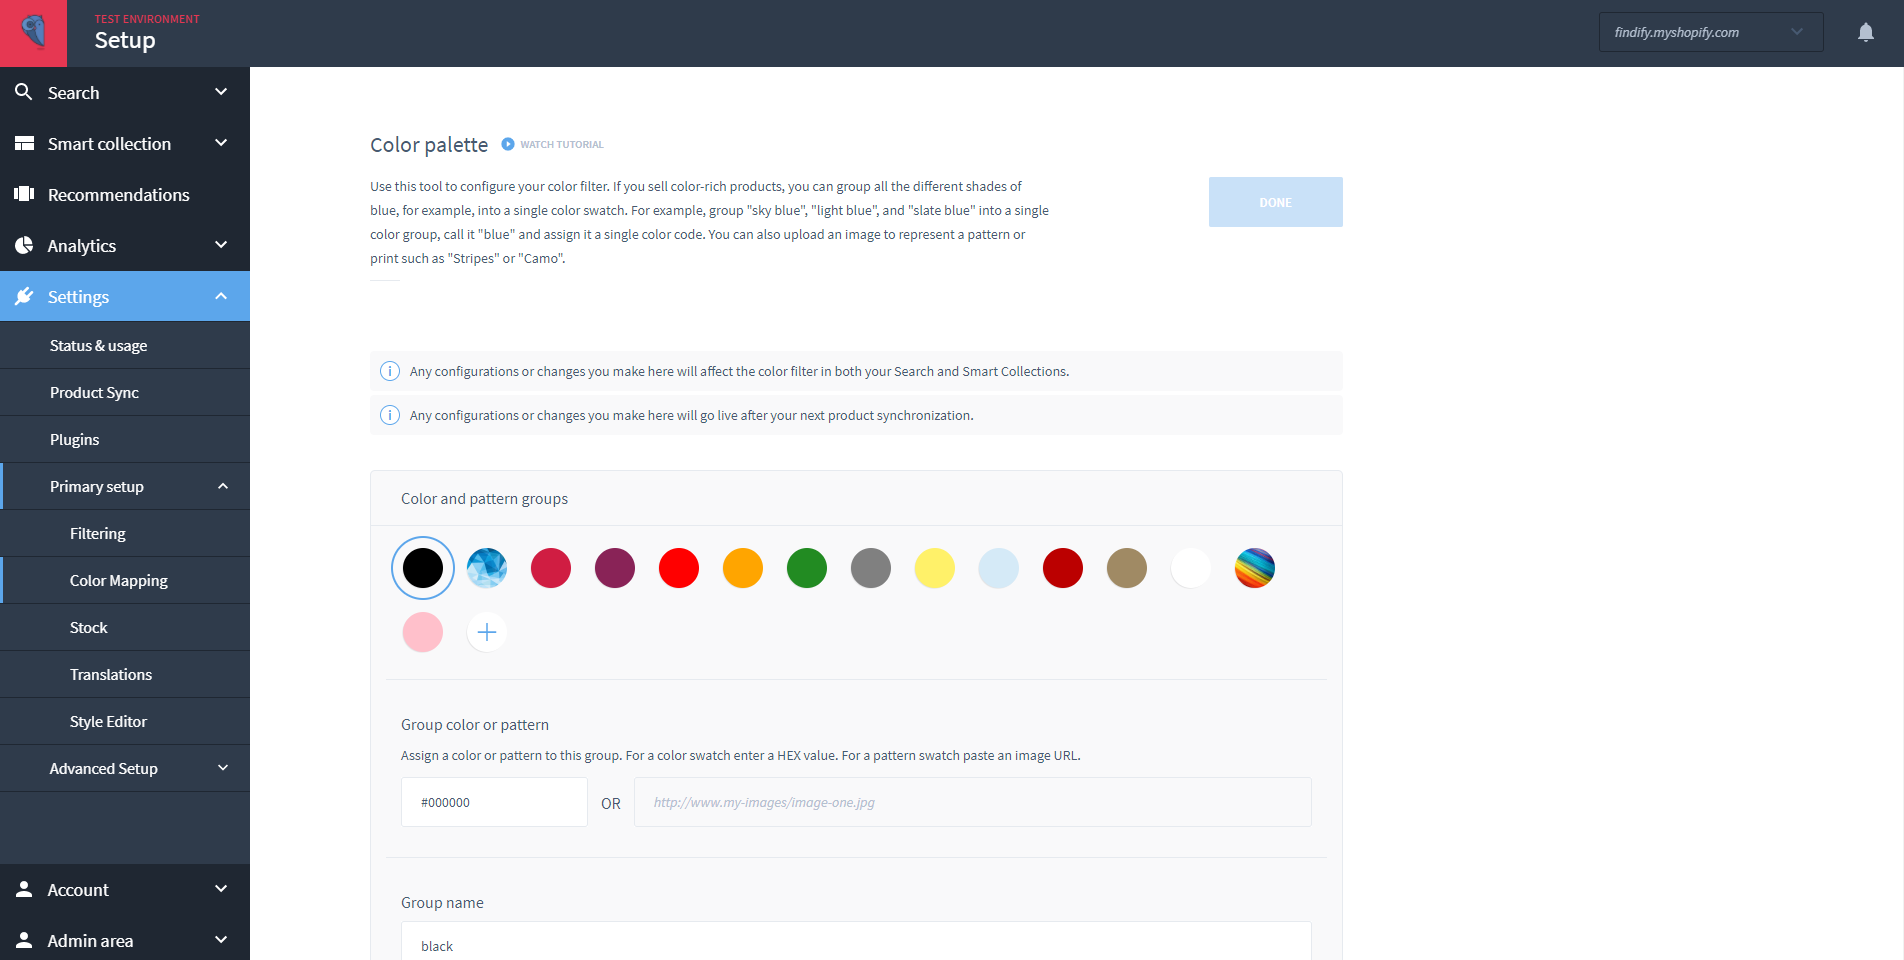
Go to your Findify Merchant Dashboard. Navigate to Settings > Primary Setup > Color Mapping.

Click on the plus button to define a new color group. You then have to either assign an overall color to define the group, using a HEX code, or assign a pattern swatch, using an image URL. Patterns can be used to define swatches such as stripes, multicolor, camo etc. Keep in mind, this color or pattern is what will be visible to the shopper when filtering through items in the store.
You can then assign any unmapped shade desired to this color group, or manually add any color names you know you will be adding in the future. Then hit save.
Upon your next product sync this color group will be available in the color filter capability along with any products that are tagged with the colors you selected.
Updated over 1 year ago
