Display Custom Fields on Product Cards
This guide provides step-by-step instructions on how to display custom fields, such as a brand name, on product cards in Findify's native Shopify app. The app is built using Liquid, Shopify's templating language.
Step 1: Configure Custom Fields in Merchant Dashboard
To display custom fields, you need to first enable them in the Findify Merchant Dashboard.
-
Navigate to Merchant Dashboard:
- Go to Merchant Dashboard → Settings → Primary Setup → Filtering.
-
Find and Edit the Field:
- Locate the field you want to display on the product card and click the edit icon next to it.
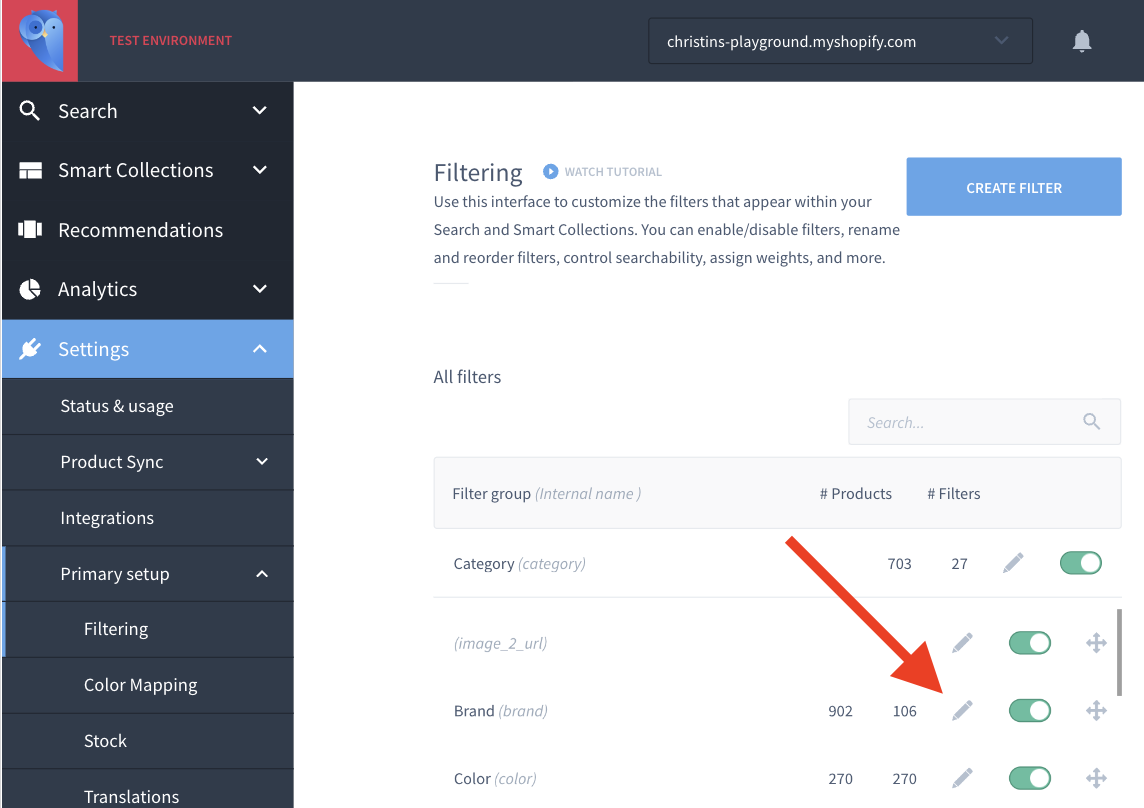
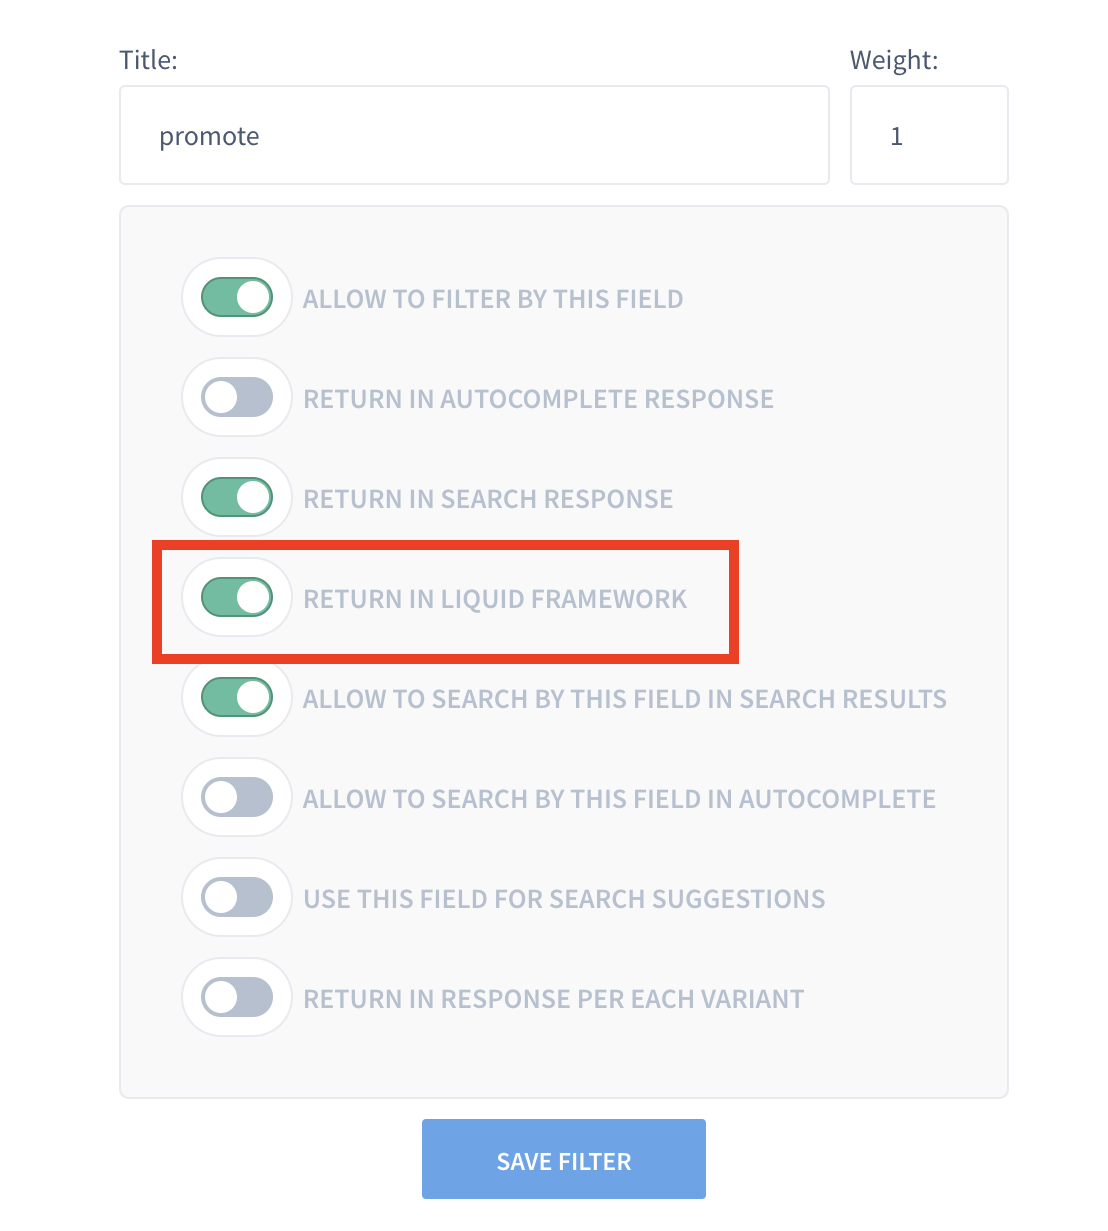
- In the field settings, enable the option Return in Liquid Framework.
Step 2: Update Theme Liquid File
Next, update the theme's Liquid file to display the custom field on the product card.
-
Open the Theme Editor:
- In Shopify, go to Online Store → Themes → Edit Code.
-
Locate
findify-product-card-connector.liquid:- In the theme editor, find and open the
findify-product-card-connector.liquidfile.
- In the theme editor, find and open the
-
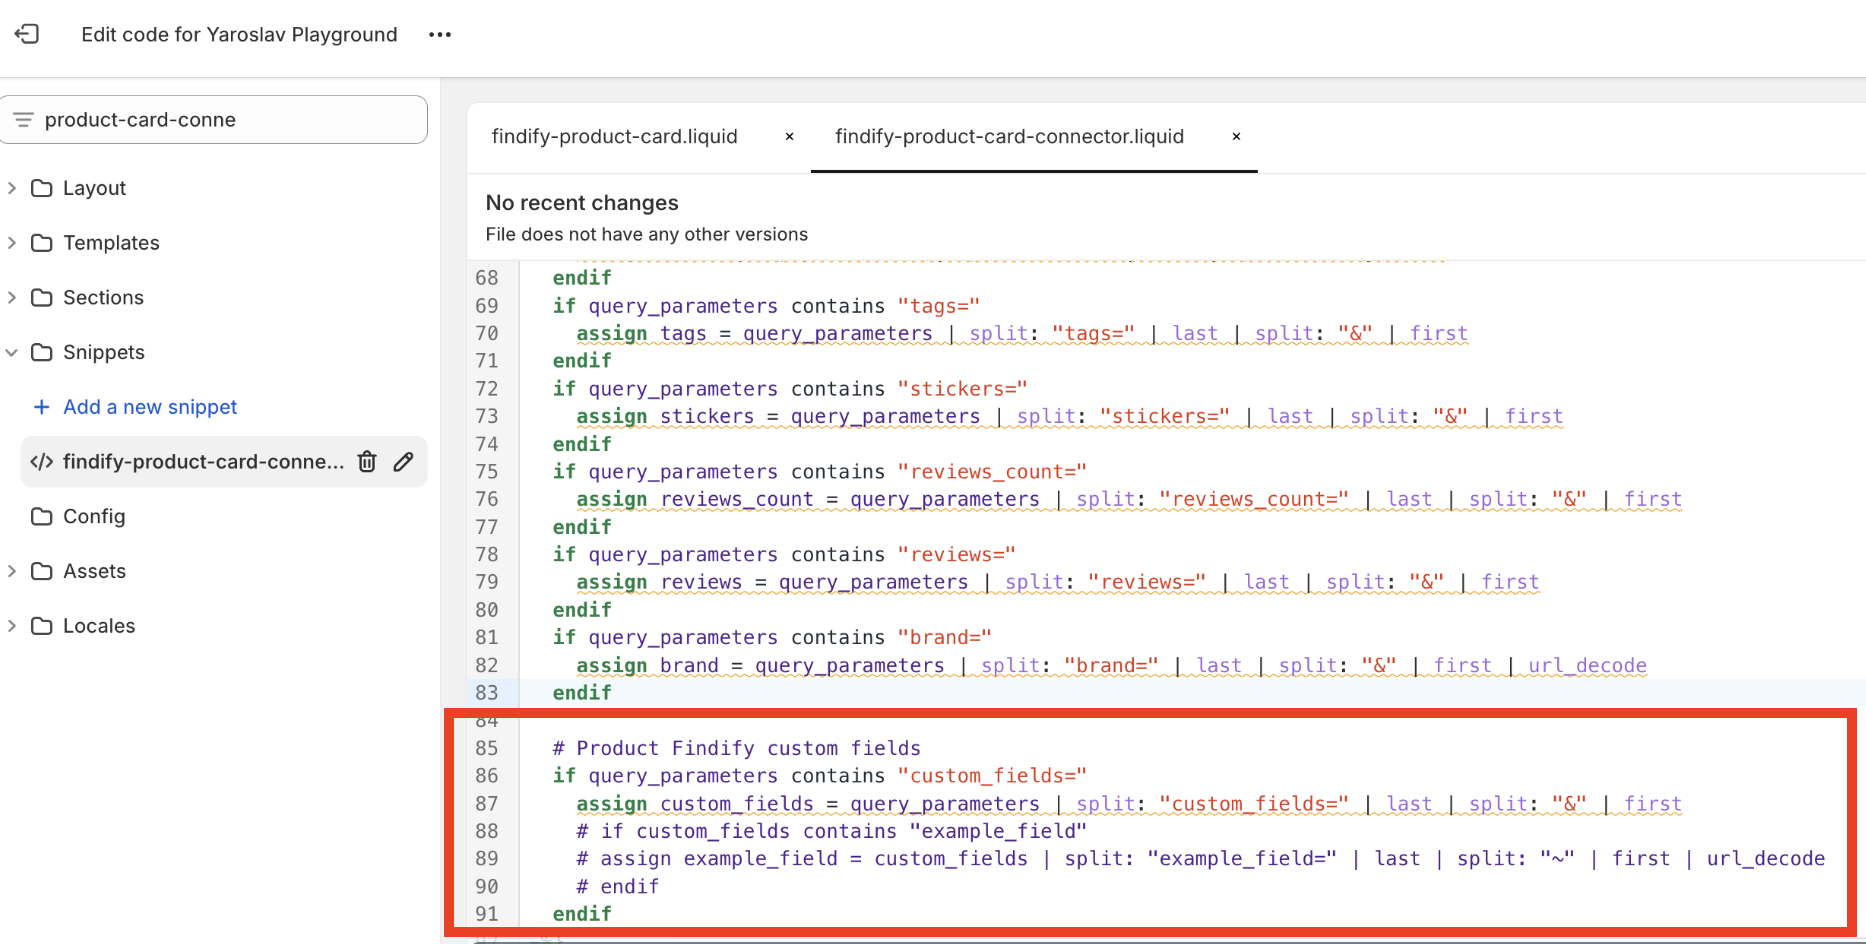
Assign Custom Field Values:
- Scroll to the end of the
findify-product-card-connector.liquidfile. - Here, you can assign values depending on your needs.
- Scroll to the end of the
By following these steps, you can easily display custom fields such as a brand name on product cards in Findify's app for Shopify. This allows for greater customization and enhances the visibility of important product attributes.
Updated 12 months ago