Google Analytics 4 (GA4)
GA 4 is the latest generation of Google's widely adapted analytics platform, focused on providing more data throughout the entire lifecycle of the customer journey. Google cites major shifts in consumer behavior and changes in online privacy policies as the main driver behind the upgrade.
How to enable Site Search tracking on GA 4
Step 1: Log into your Google Account
Log into your Google Account
Step 2: Go to "Data Streams"
In the admin panel, navigate to "Data Streams" Settings, or use the search bar on top
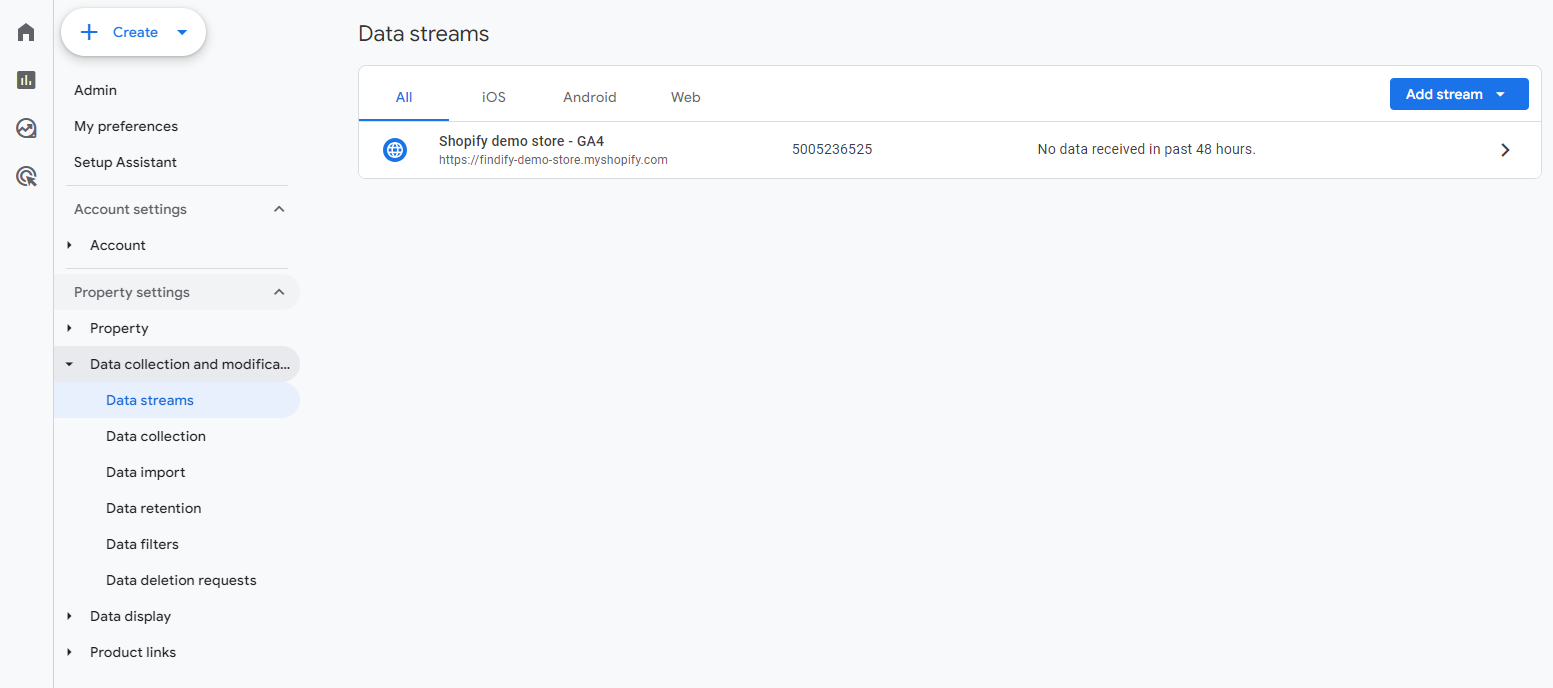
Click on the website you want to enable or verify site search settings
Step 3: Configure "Enhanced Measurement"
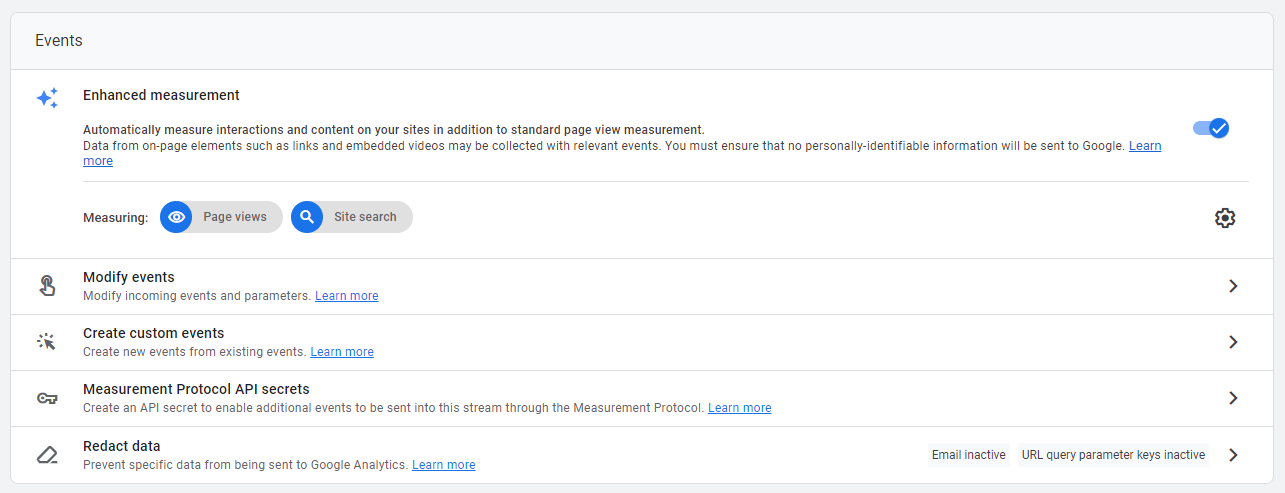
First, confirm that the 'Enhanced measurement' option has been activated as Shown above.
Then, click on the small gear icon located on the right-hand side to unveil the expanded list of enhanced settings. It is important to verify that the 'Site search' setting is activated.
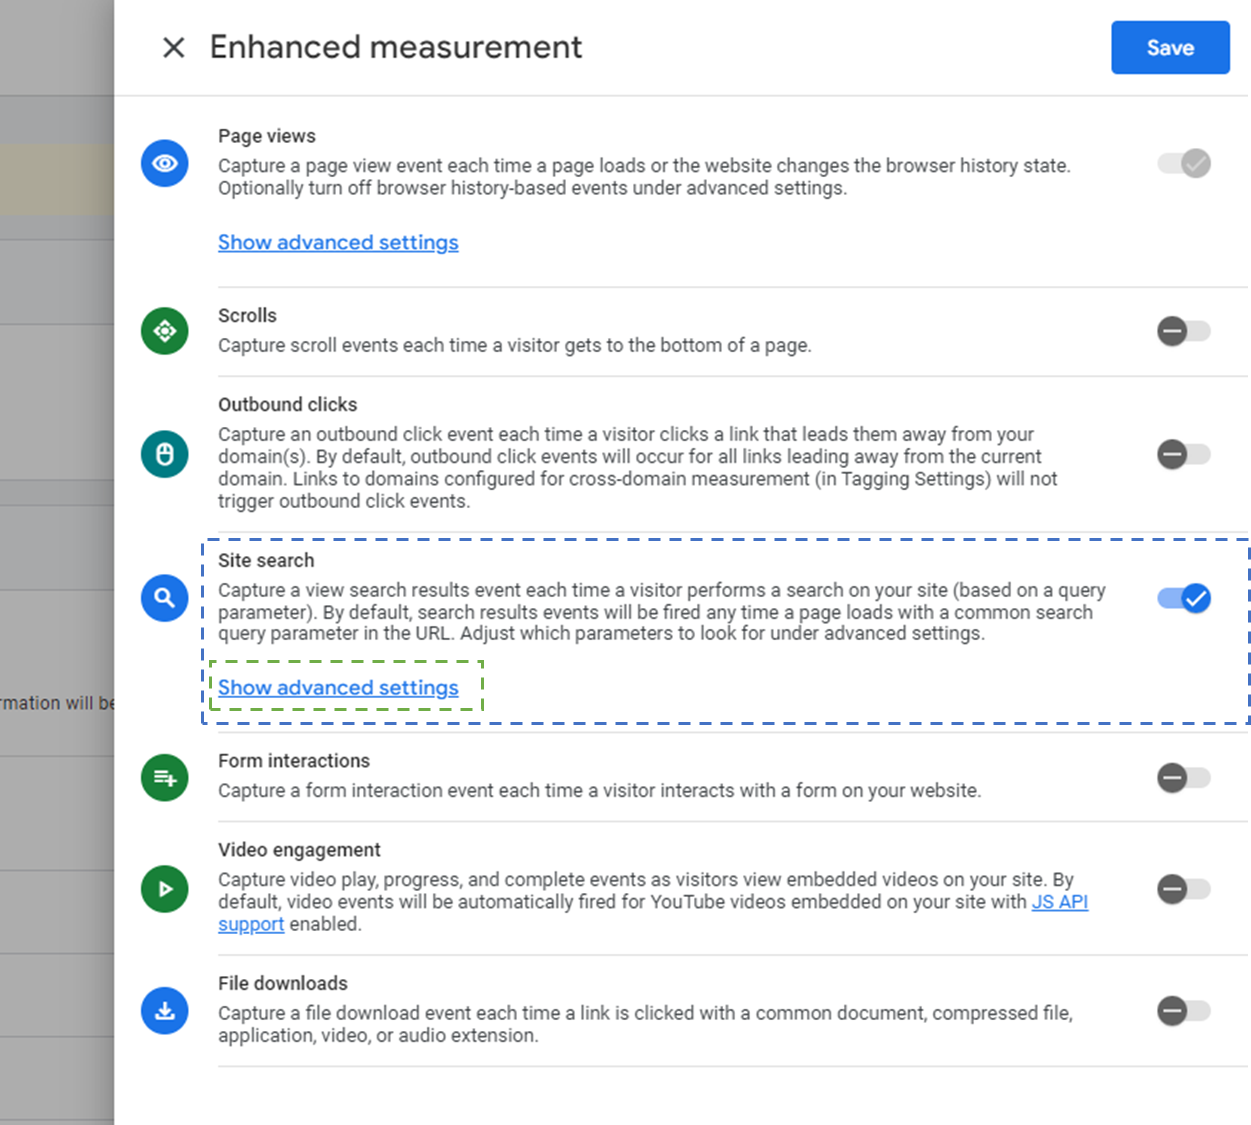
Step 4: Configure query parameter
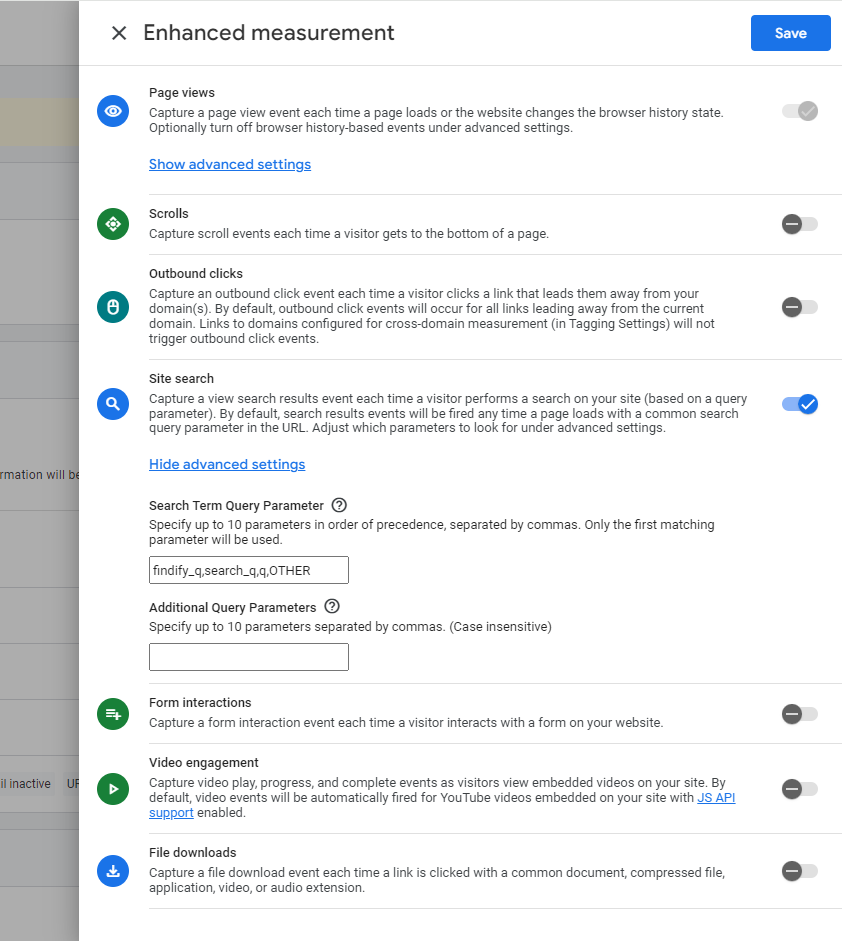
In the menu, go to "Site Search" settings & click on the "Show advanced settings" to configure the query parameters. Query parameter can be adjusted in Findify and the most commonly used are findify_q or search_q .
You'll easiest find the parameter used in your store by conducting a search & reviewing the URL.
e.g. q in [https://demo.findify.io/pages/search-results?q=item]

Ensure that the parameter you're using is listed in the advanced settings.
Default Tracking
By default, search events are automatically tracked by Google Analytics if you have Site Search Tracking enabled in your Google Analytics setup.
However, in certain cases, Findify query parameters can conflict with your site query parameters which can cause issues. To overcome this issue, we're prefixing our parameters with a common prefix, e.g.
findify, so instead ofqto identify the query parameter,findify_qis used, which is not tracked by Google Analytics by default.
Step 5: Save your changes
Make sure you save your changes before exiting the Enhanced measurement tab.
Note: Query parameters cannot have additional characters like "_", "-" etc.
If you have special requirements, out the Findify support team for help with setting this up in the best way.
How to create a custom audience in GA4
What is a GA4 Audience?
Simplified, an audience is a group of users that you want to monitor based on any combination of interactions in a given timeframe. The audience allows you to segment the users based on events, dimensions and metrics important to a business.
Examples
Mobile audience: users who visited the website on a mobile device
Purchasers: users who make a purchase.
GA4 evaluates if a user belongs to an audience group based on the criteria that is set up, if a user qualifies they are added. If they no longer meet a criteria they are also automatically removed. A user that satisfies the conditions of multiple audience groups will be included in all of them (Read more here)
By default, Google automatically creates two audiences for you ‘All users’ and ‘Purchasers’.
In order to collect and track site specific Findify search activity you need to create a custom audience that captures and satisfies certain criteria.
Before we begin ensure you have enabled site search on your Google account (as described in section above).
Step 1: Log into your Google Account
Log into your Google Account
Step 2: Go to "Audience" Settings
In the admin panel, navigate to "Audience" settings, or use the search bar on top.
Select New Audience.
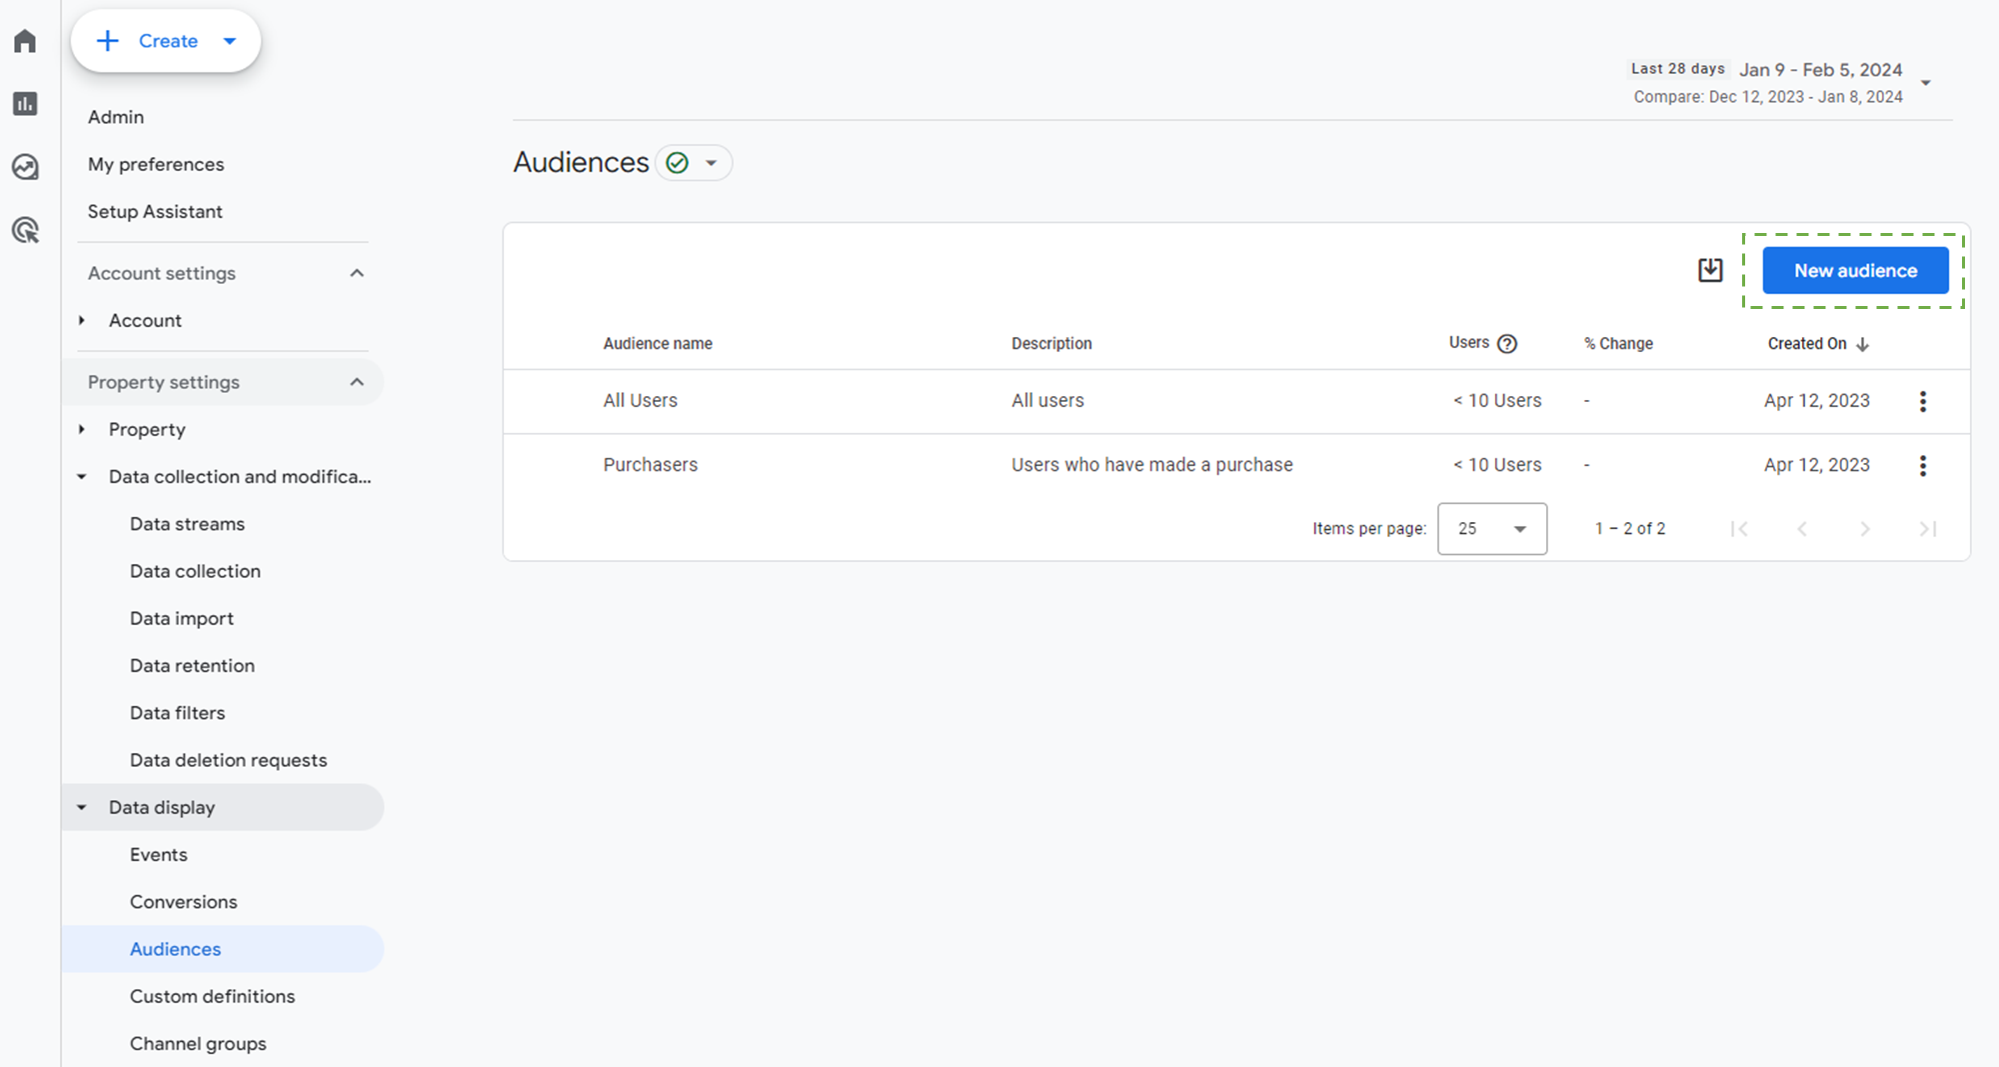
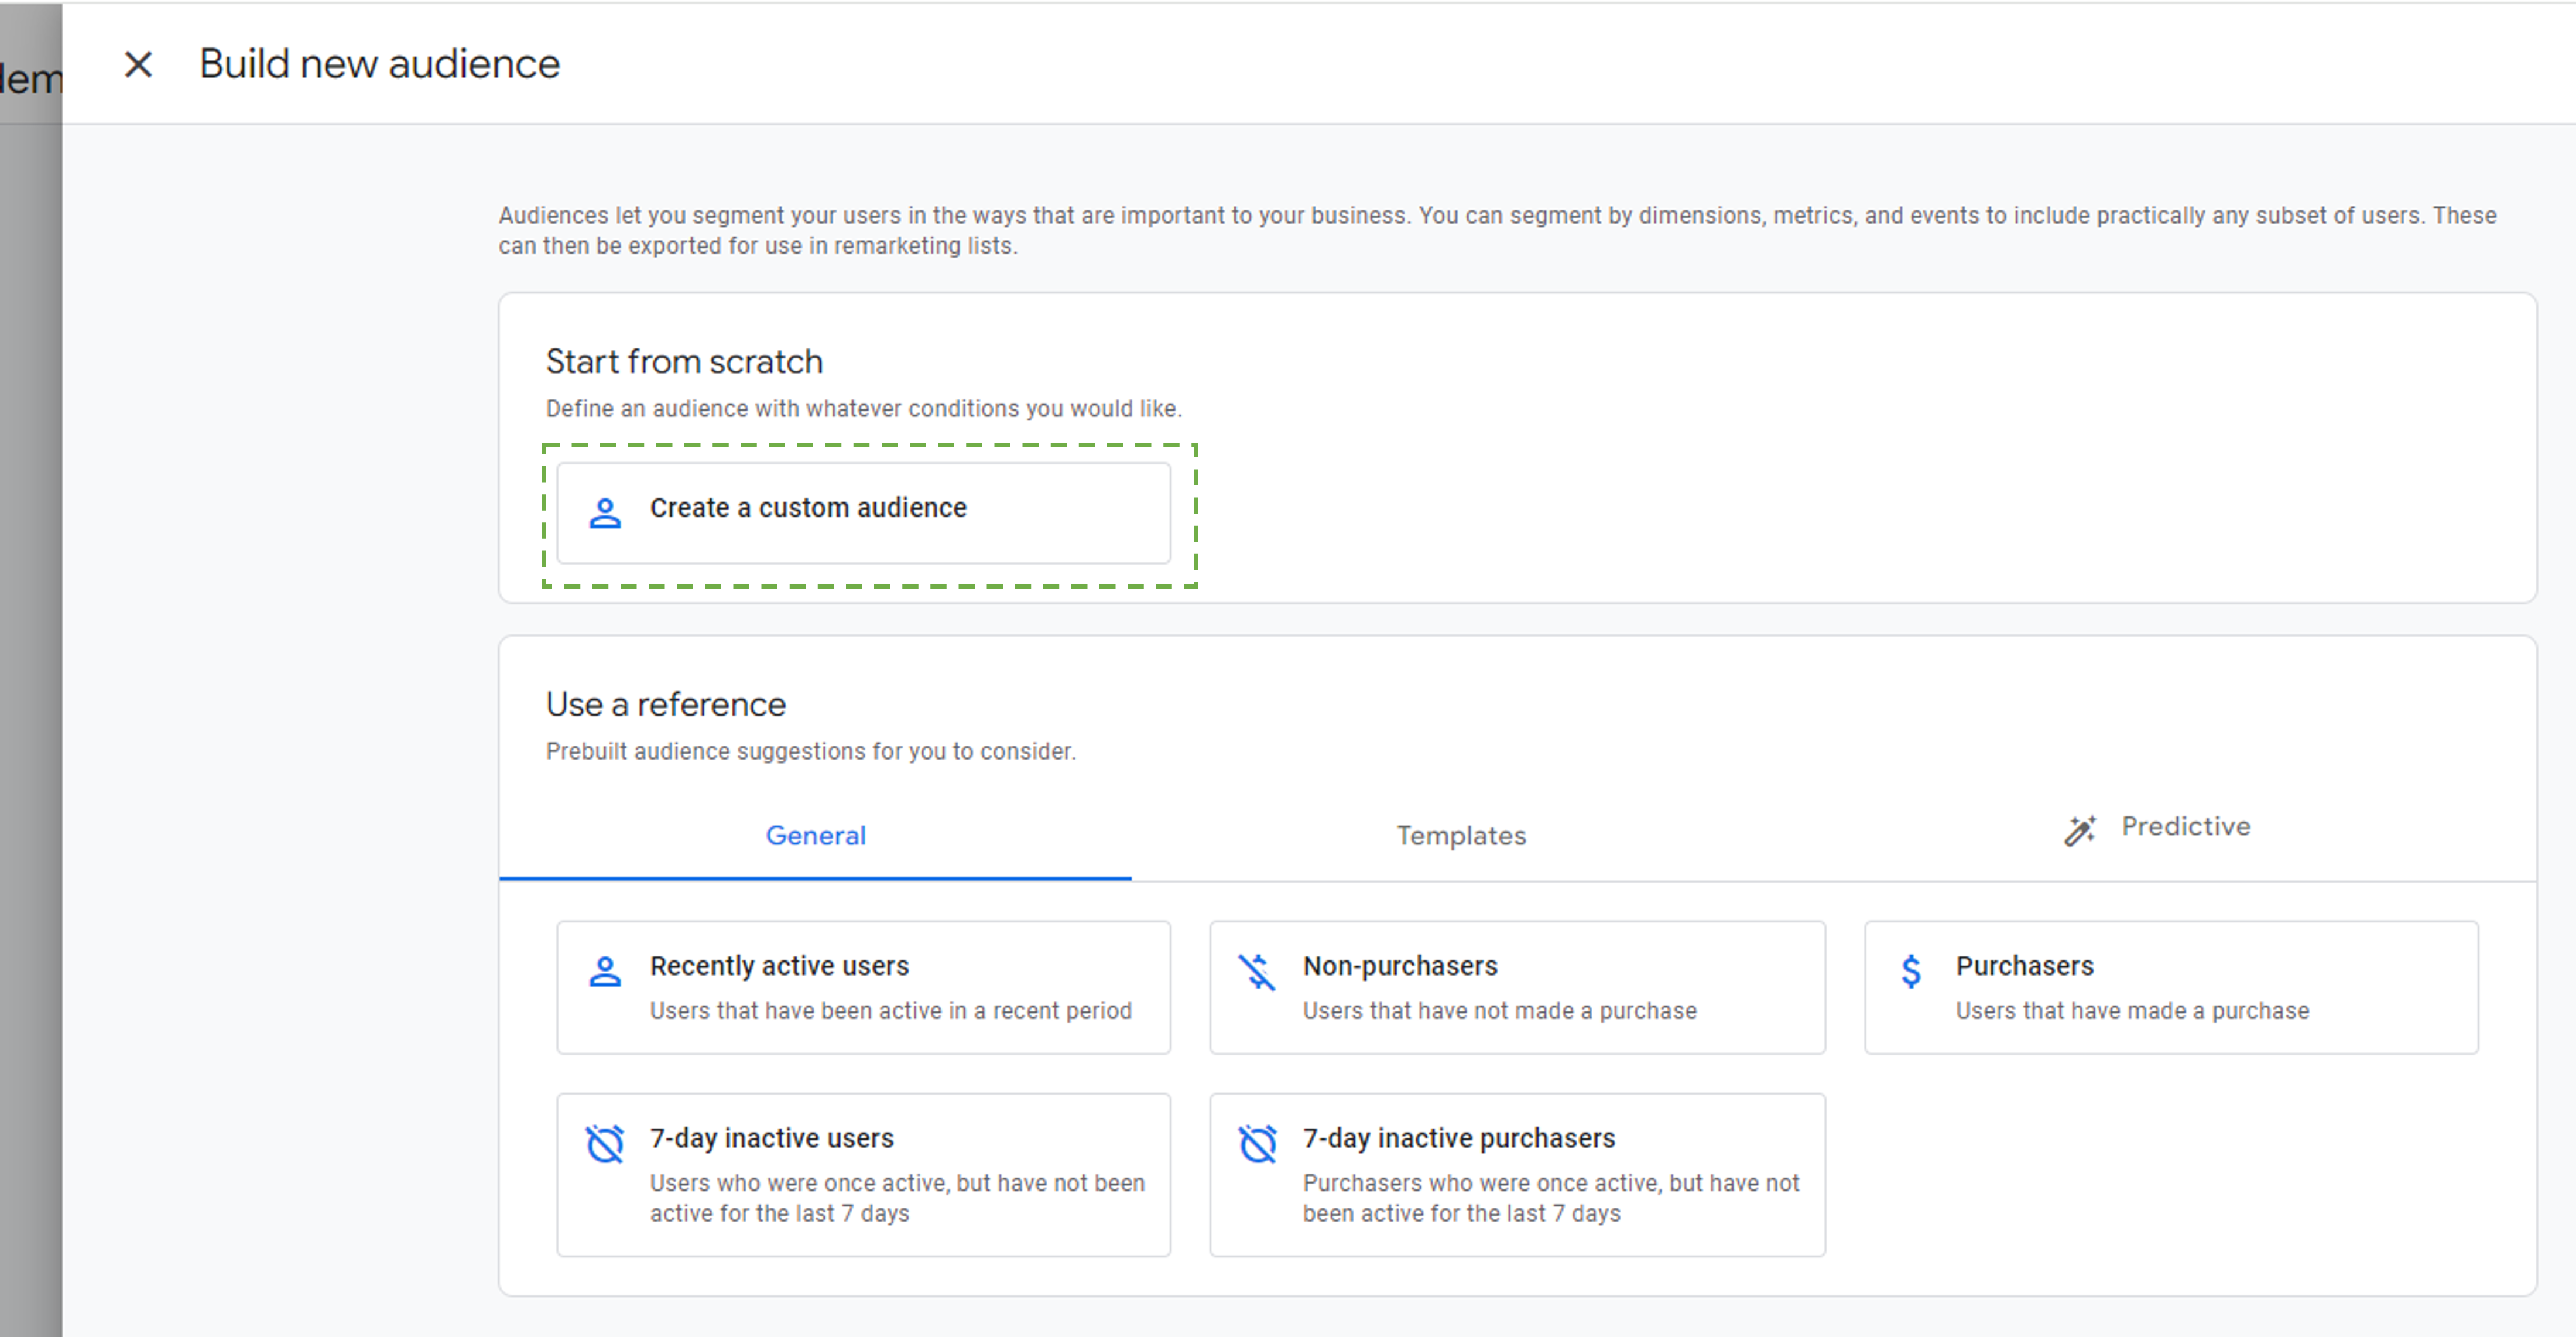
Step 3: Configure the New Audience
Select New Custom Audience
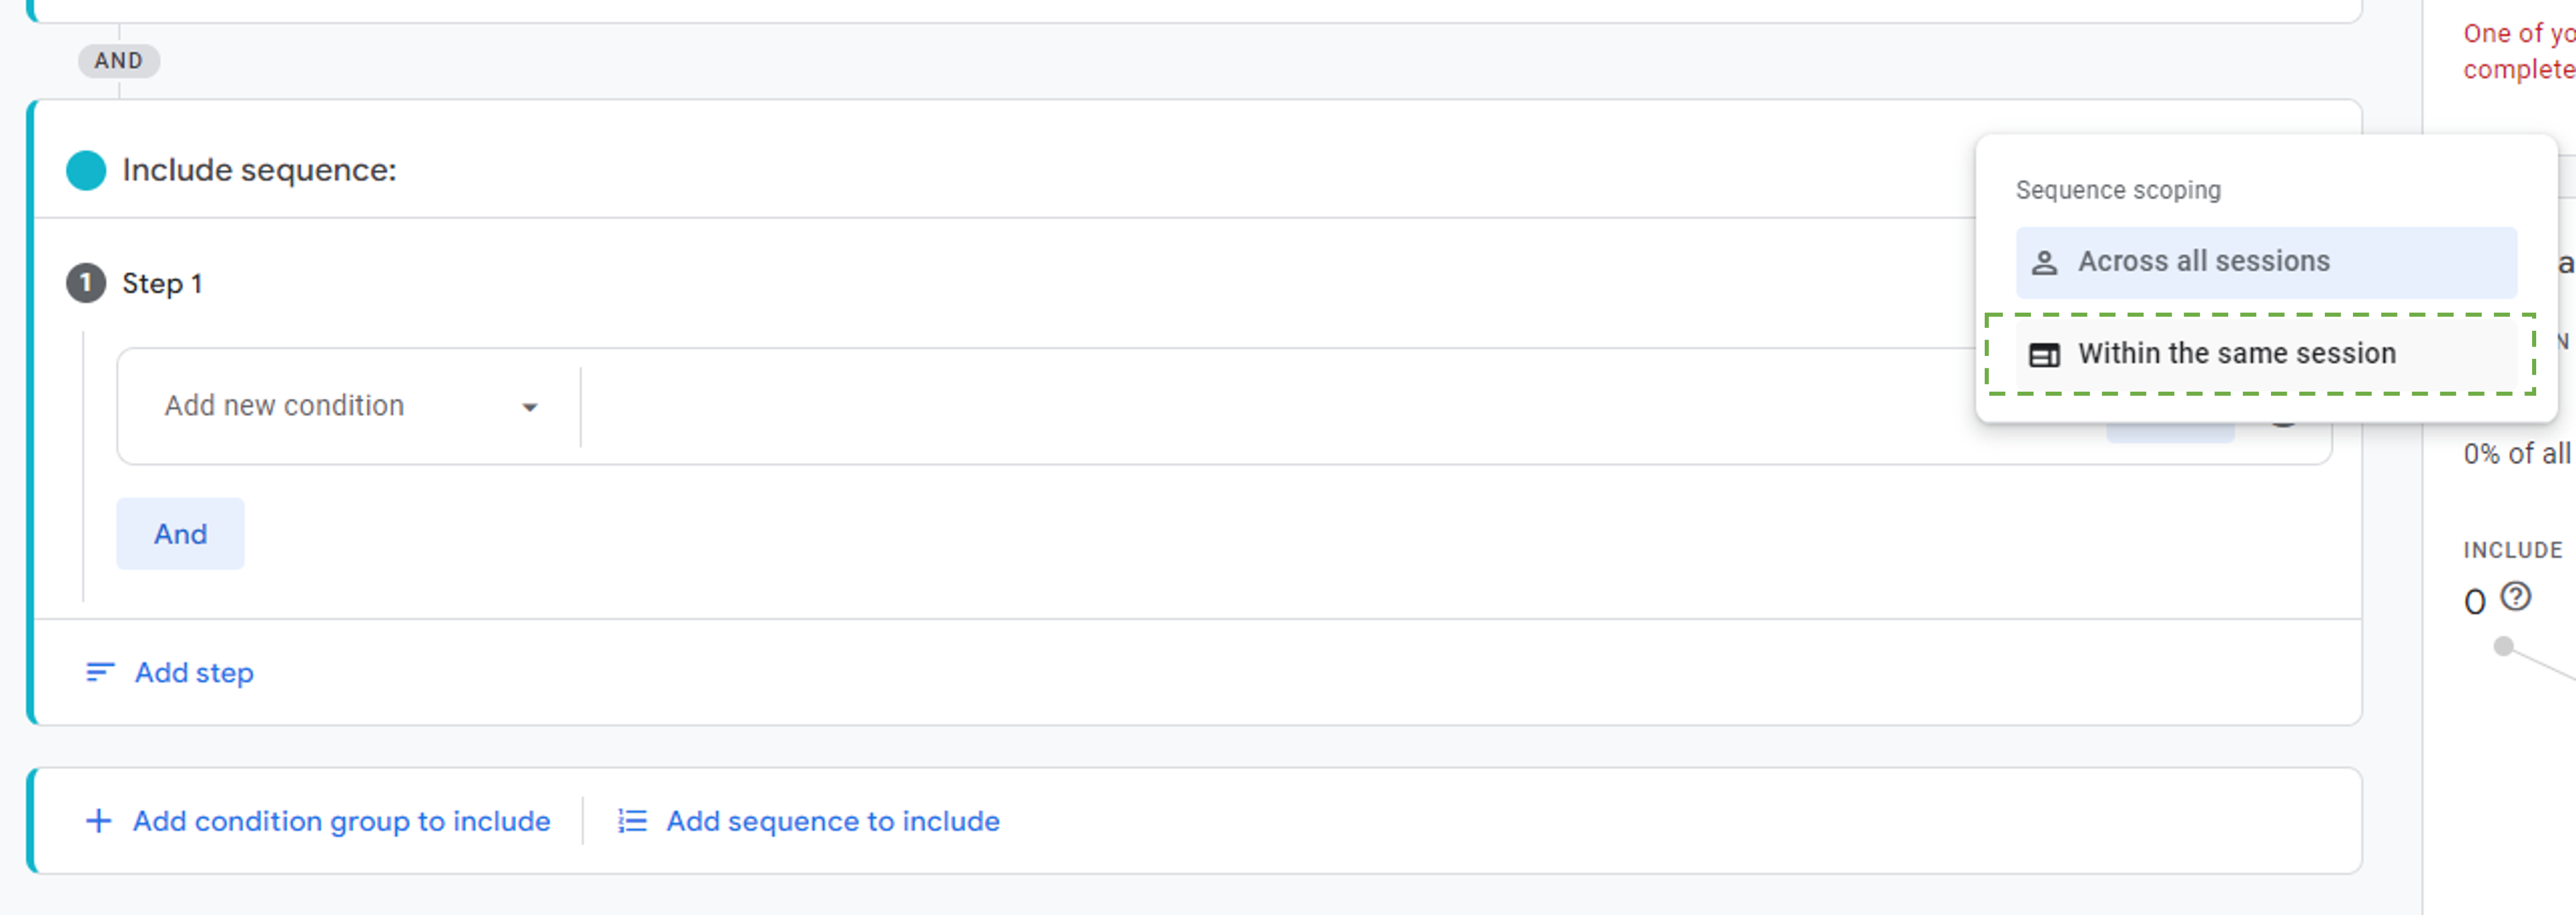
When setting up an audience you need to define the scope, event, dimension, or metric that you would like to apply
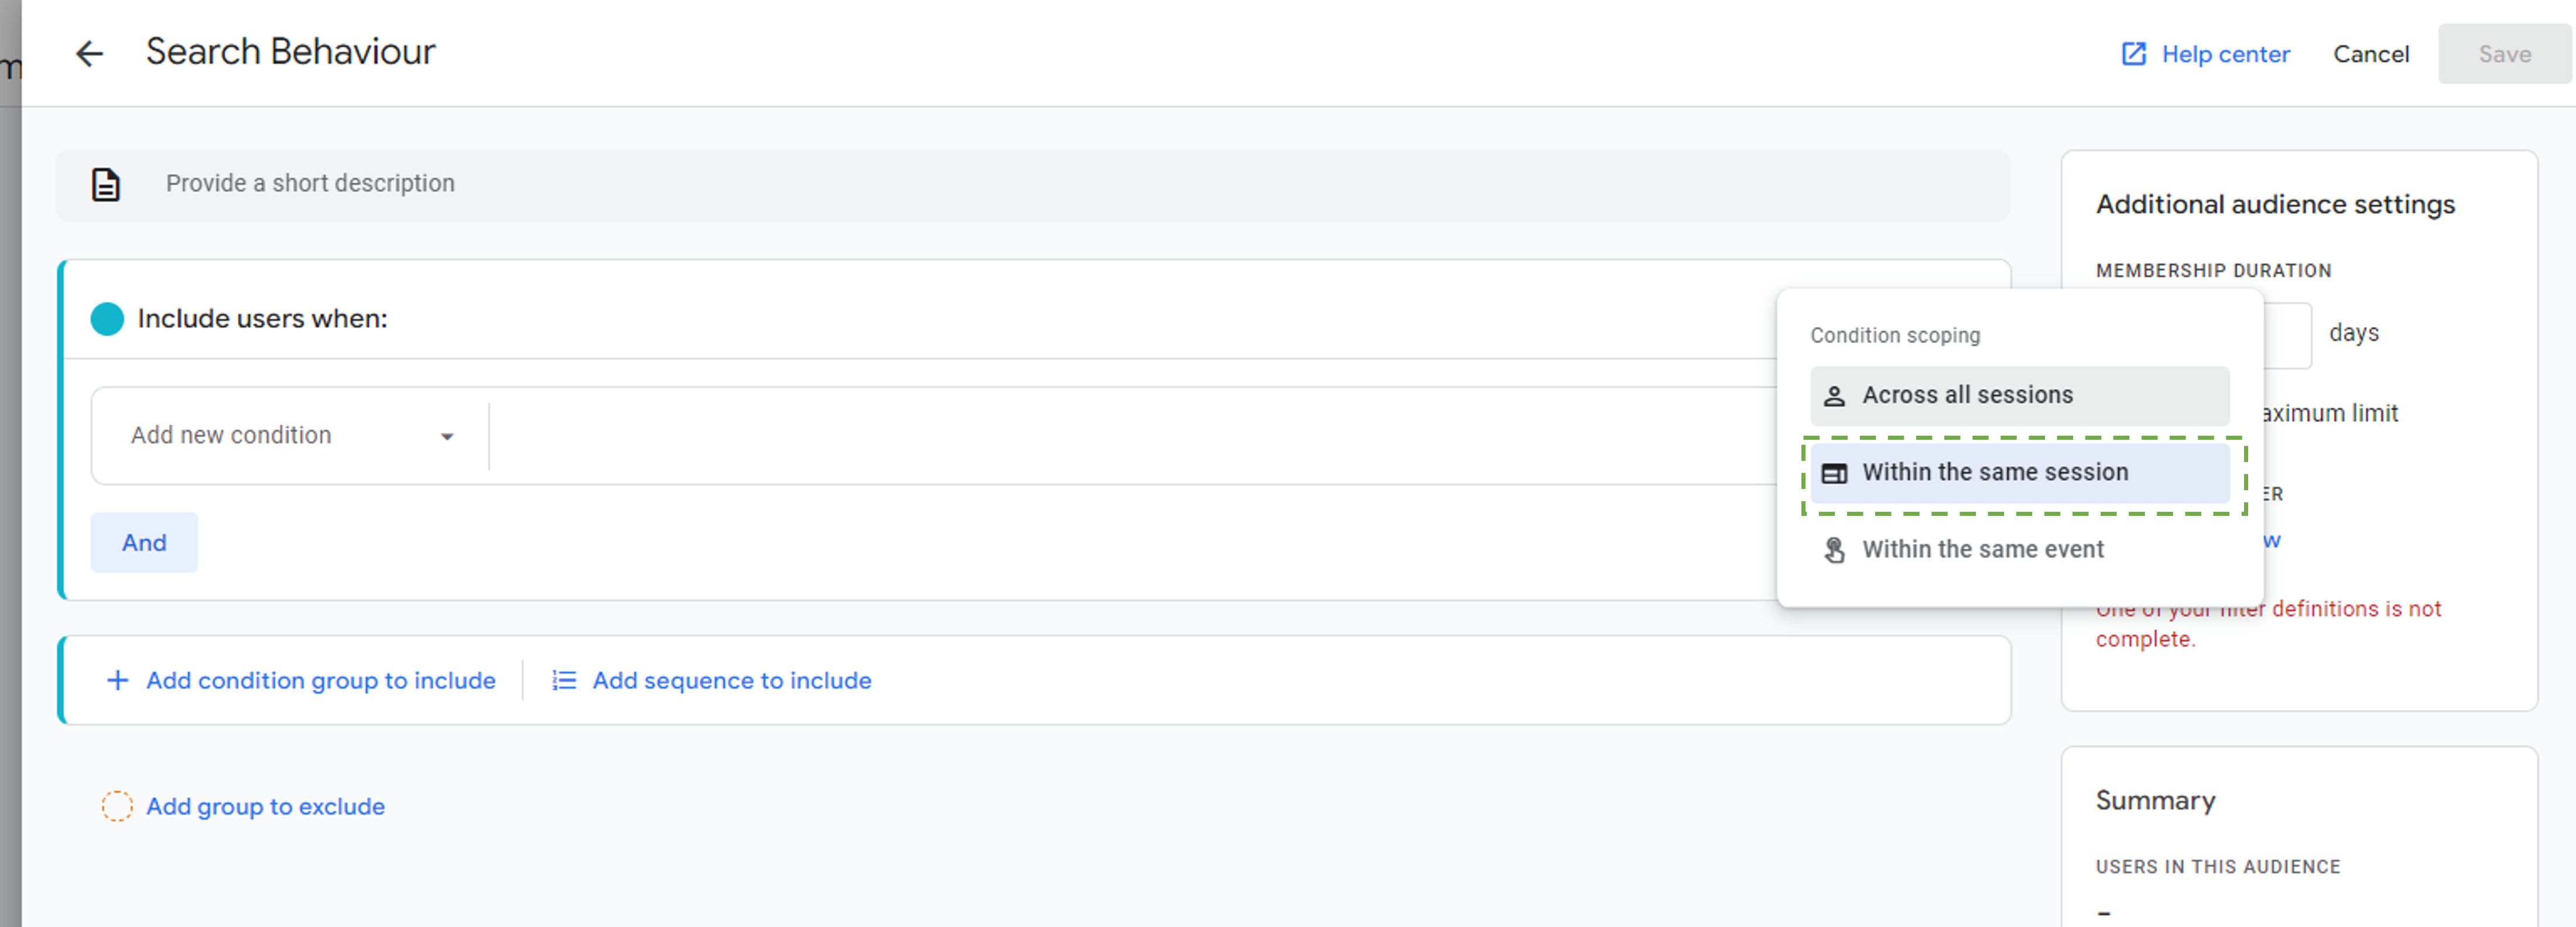
Scope : This defines the scope of when conditions will be met
- Across all sessions - adds a user to the audience if the condition is true for all the previous sessions
- Within the same session - adds a user to the audience if the condition is true for the current session (live session)
- Single event - adds the user to the audience if the condition is true for a particular event
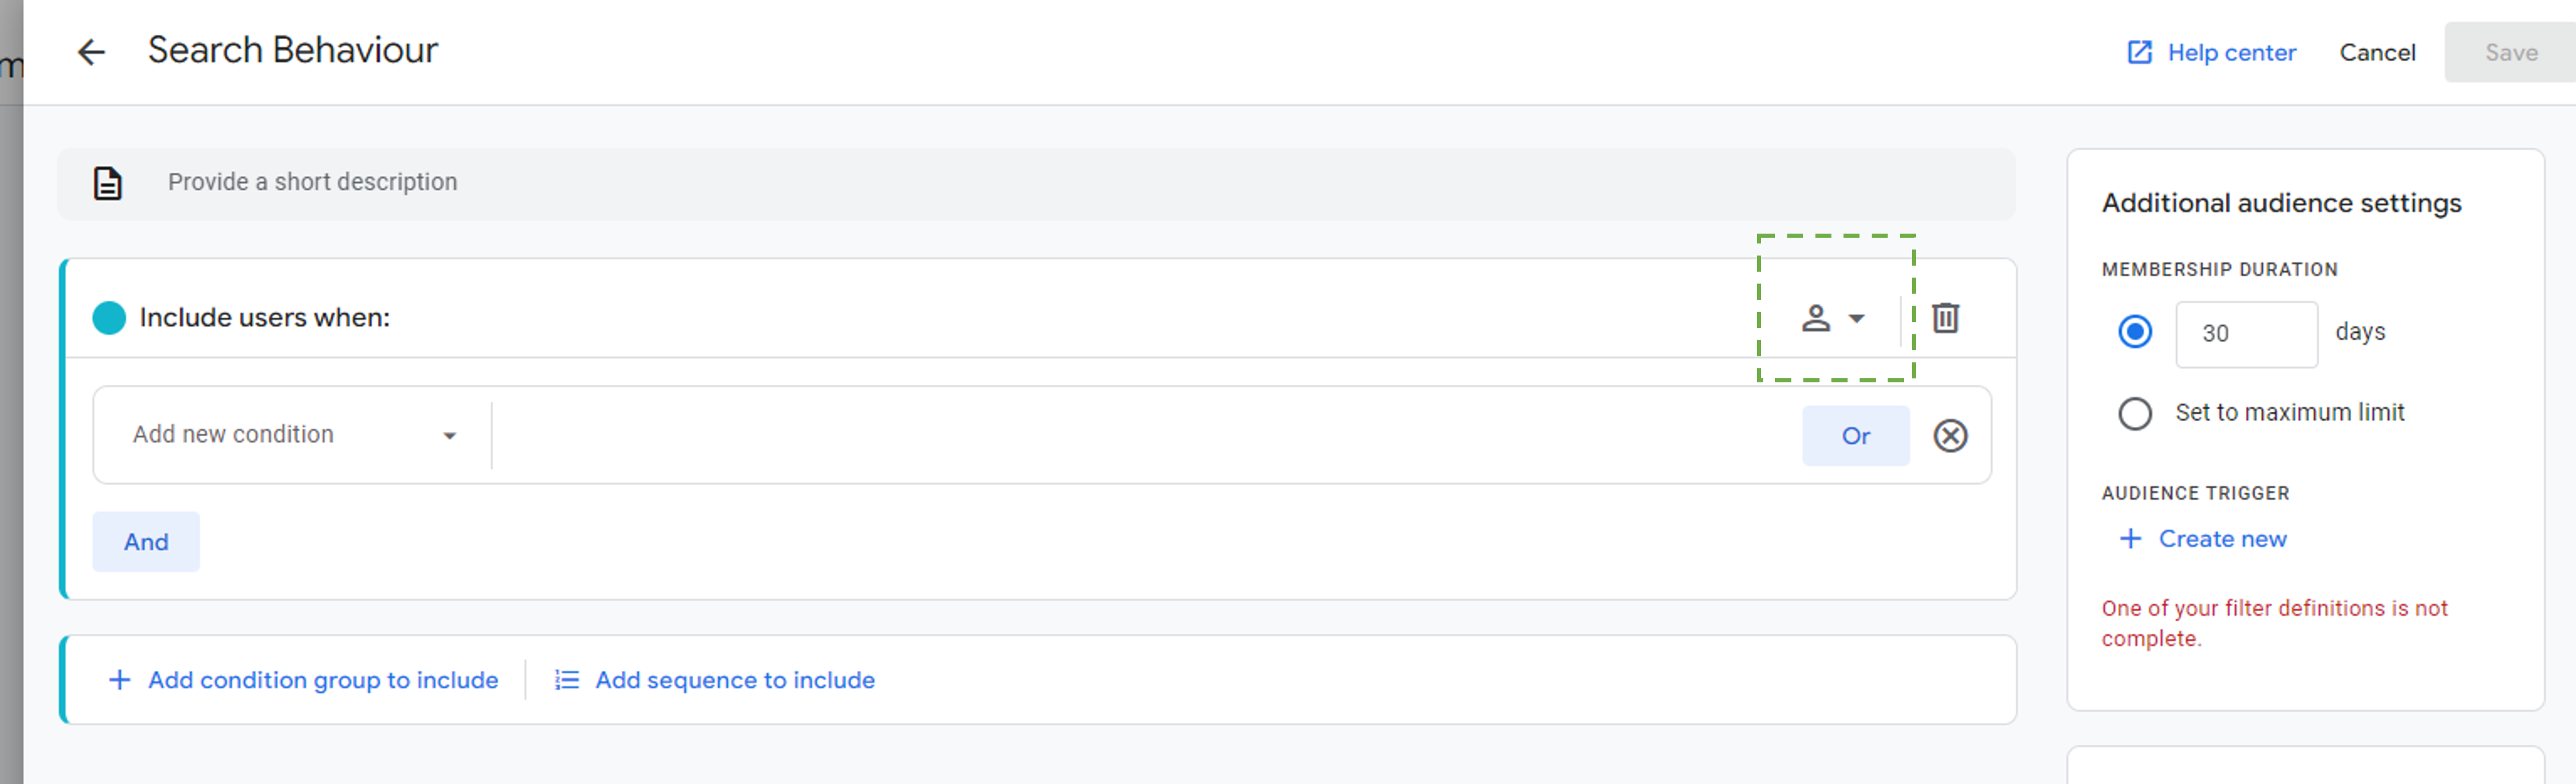
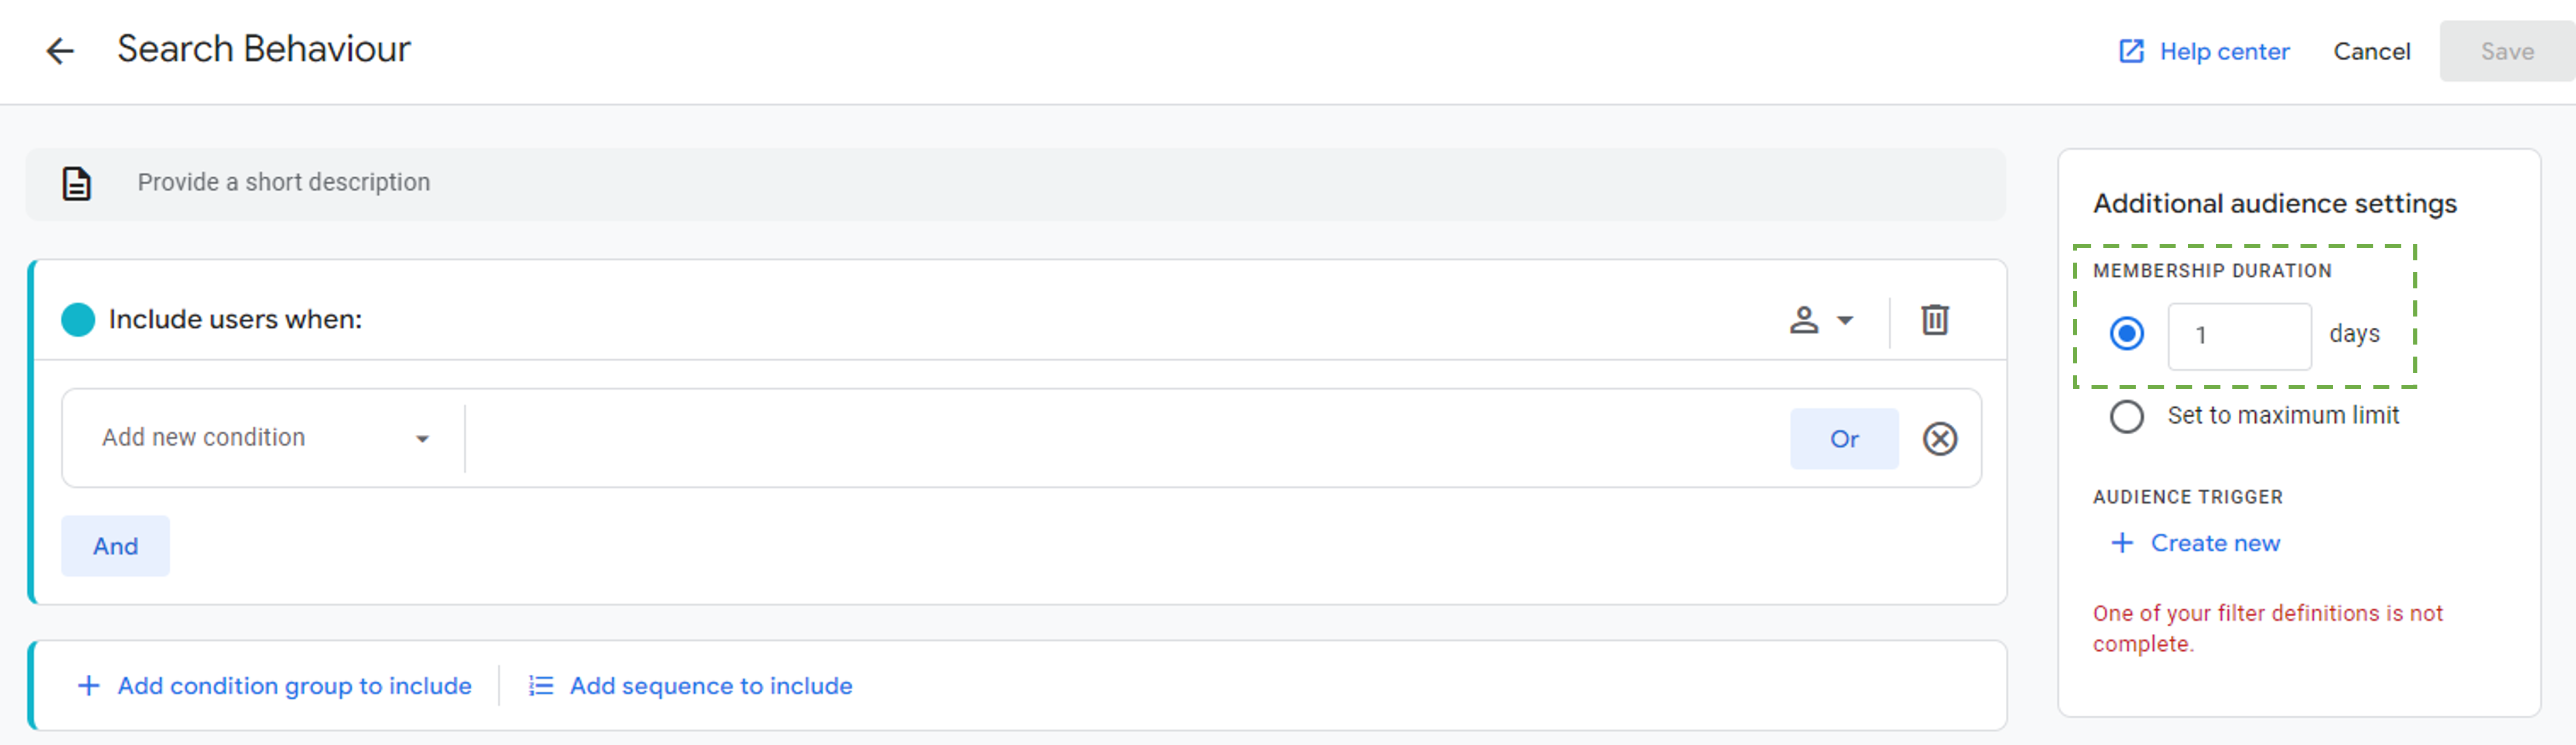
Select "Within the same session"
Set duration to 1 day to capture activity per day.
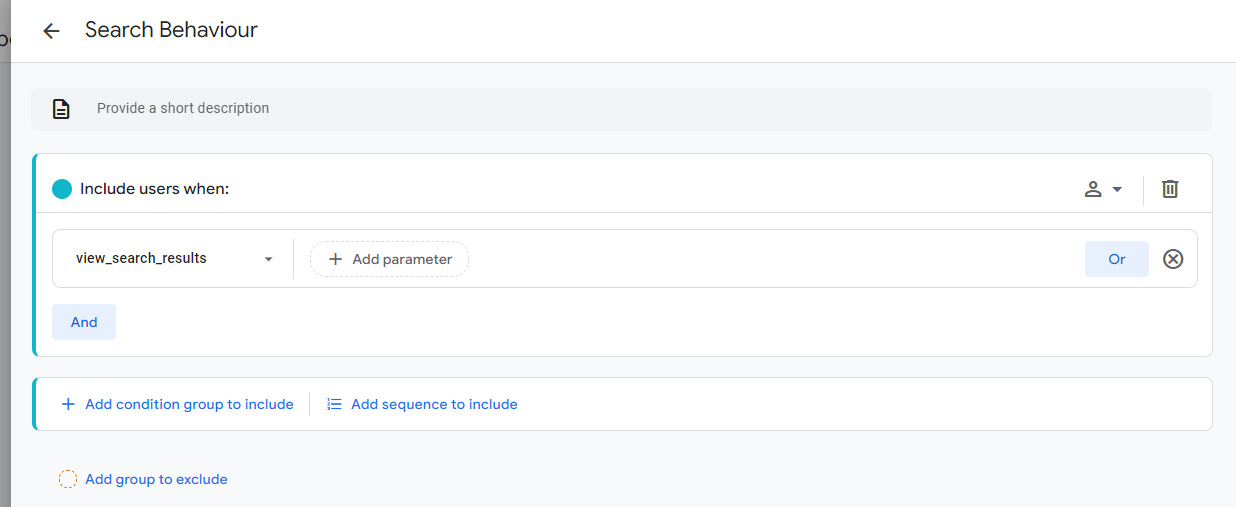
By default, GA4 fires the "view_search_results" event when a user inputs a query and clicks on the search button on the website. As the event gets fired on the website, Google sends default parameters such as search_term, page_location and source.
Select the event "view_search_results".
Note: If there is no "view_search_results" - event, the site search tracking is not correctly defined or there is no analytics captured.
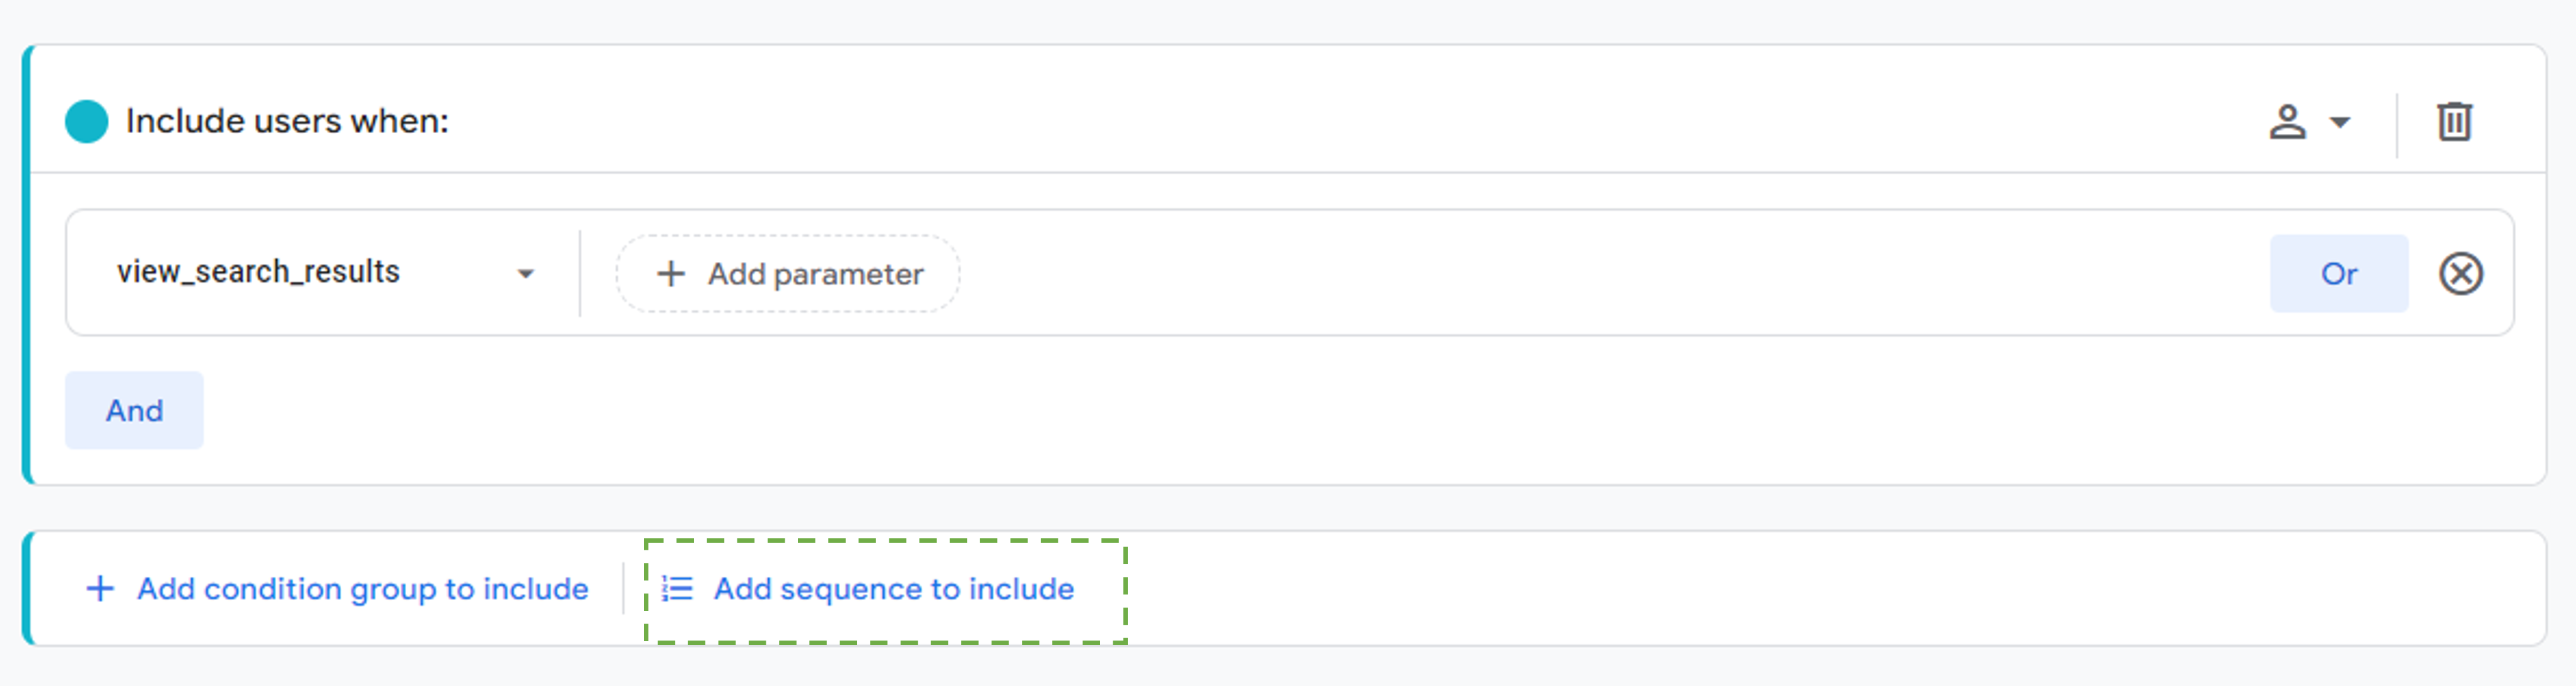
Additional criteria can be added as sequences let you specify conditions that need to be met for a user to become a member of this audience.
In order to know the activity that triggered a purchase as a result of search on the website, a sequence of event "purchase" can be added.
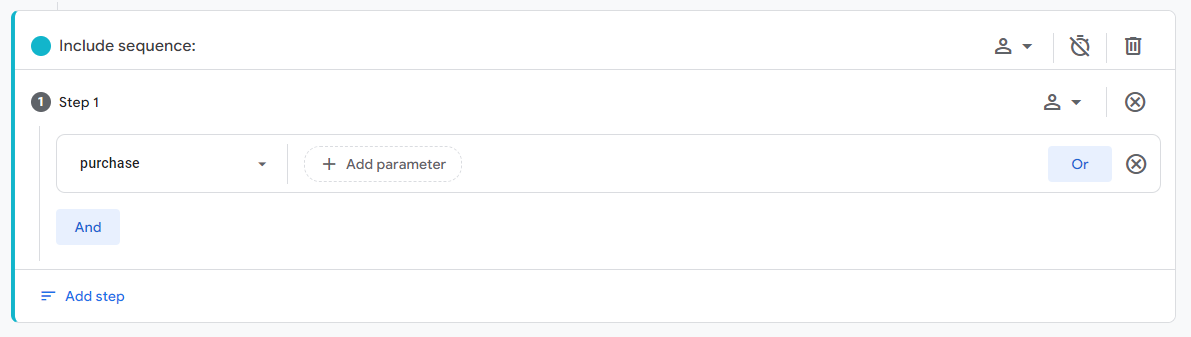
It is important to keep the scope the same as before ‘Within the same session’.
DebugView
If something is off in your data, Google has added a great functionality in DebugView.
Read more how to use it in this external blogpost
Updated over 1 year ago