Integrating Findify Search Results
To integrate Findify search results follow these steps:
- Add Findify script
- Create Search Results Page
- Remove the default Neto search
Step 1: Add Findify script
- In the Neto admin panel, go to “Settings & tools” → “All settings & tools”.
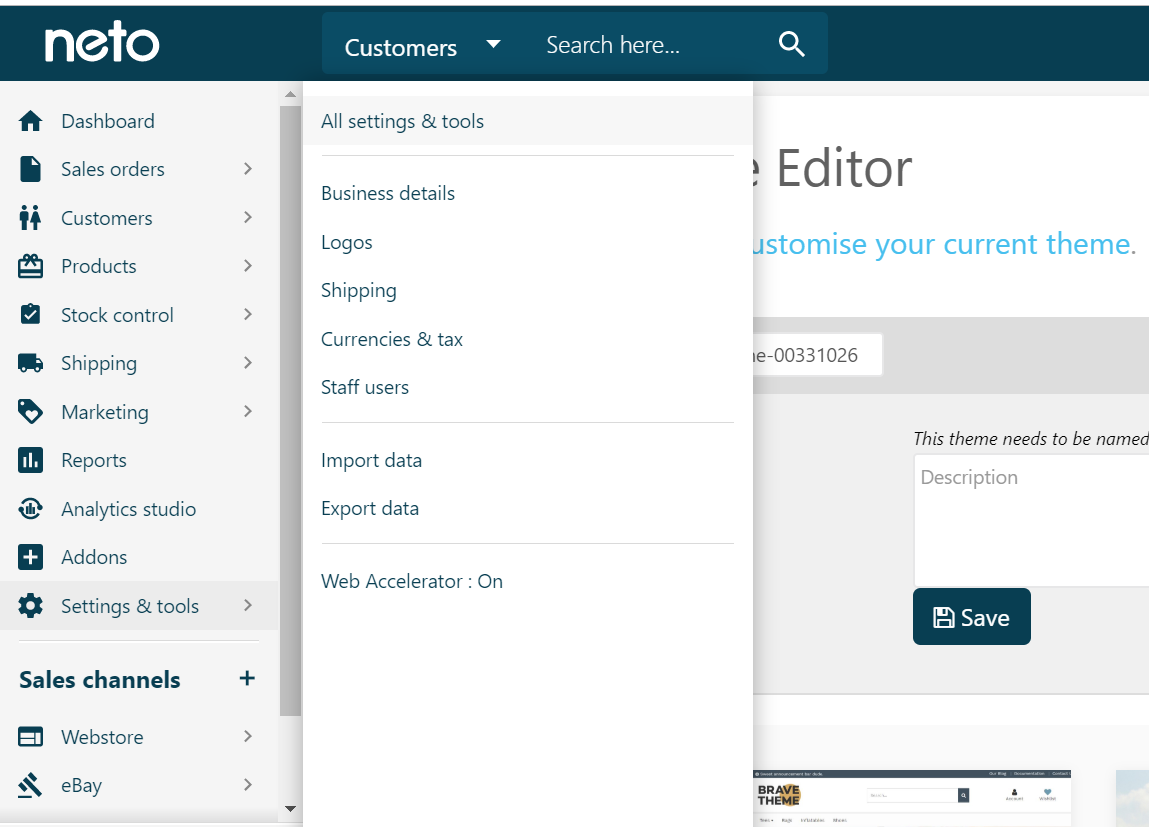
- Scroll down to “Analytics & 3rd Party Scripts” and click on “Custom Scripts”.

- Click on “Add New” located on the left side of your dashboard.

- Provide a Name for the custom Script such as “Findify Script” and leave all "key" fields empty.

- Scroll down and select 'Page Header' as the place where the script will be inserted.

- Insert the following Findify script in the code editor, ex.
<script src="//assets.findify.io/your_store_name.min.js" async defer></script>
and click “Save”. To check the script tag, please proceed to our dashboard → '"Sync, Status and Usage", and there you will see the "Javascript Tag" section:

The above steps will present our script on all themes. However, if you want to target a specific theme (i.e. staging or development) and don't want to have our script on all the themes please follow the steps below:
- To edit specific themes, you must access your website template through FTP. With your SFTP login details, you can use an FTP client such as FileZilla to log into the file server and access your website template and asset files.
If you don’t have FileZilla already, please download FileZilla Client and access the website template of the theme you wish to edit. For more help connecting through FTP client, please refer to this document.
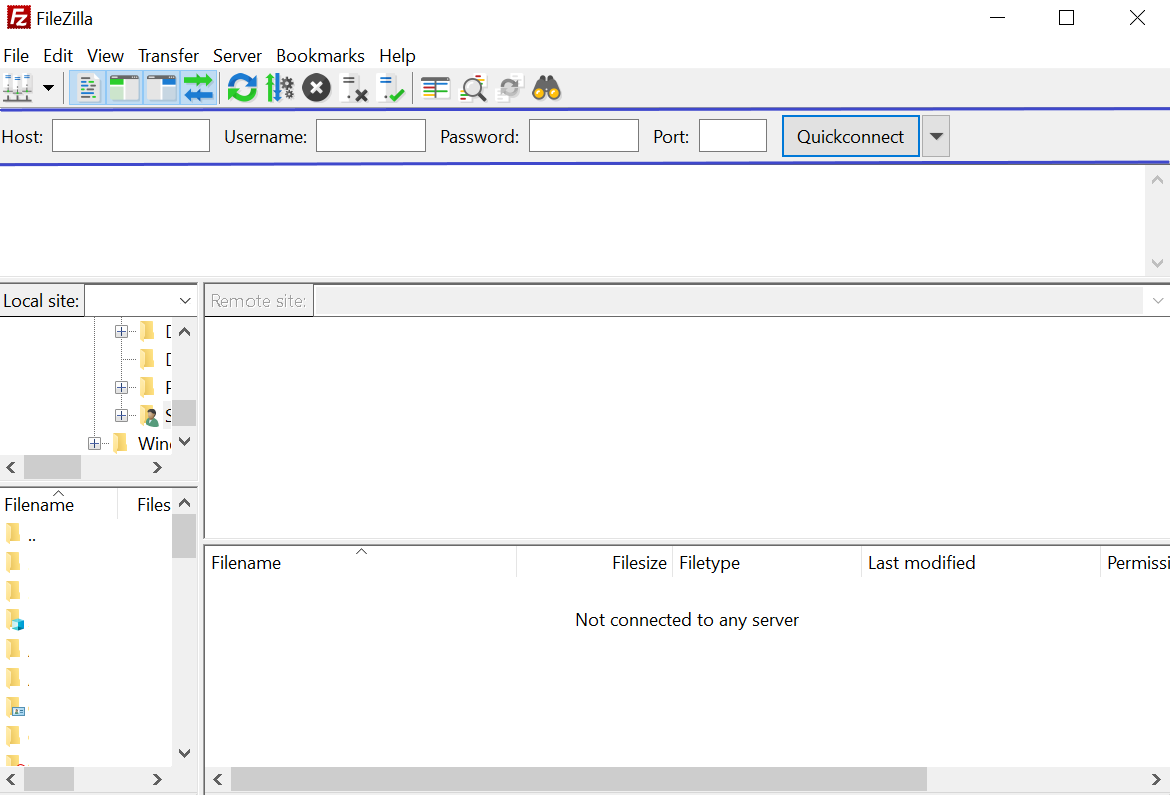
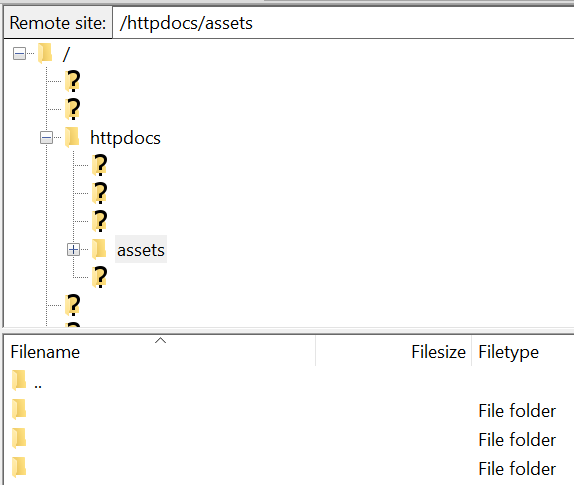
- Once you get access through FileZilla, go to 'httpdocs' → 'assets':
- Within ‘assets’ scroll down until you find ‘themes’ and click on it. Then, click on the theme you wish to edit and go to 'templates':
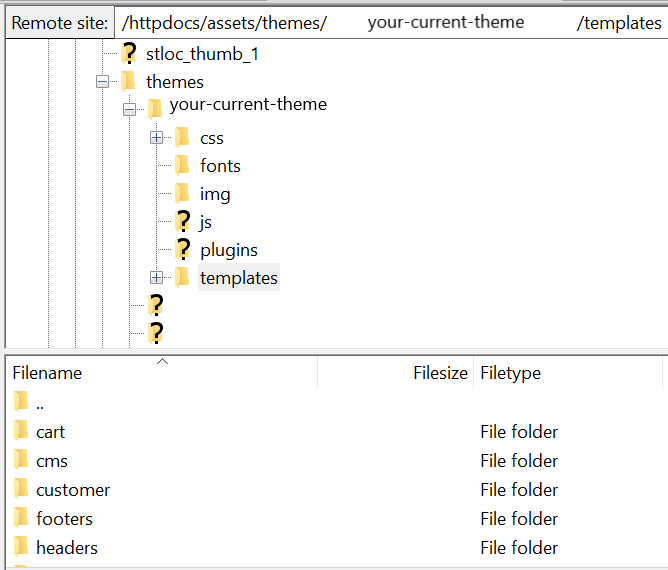
- Under 'templates', click on 'headers' → ' template.html' file:
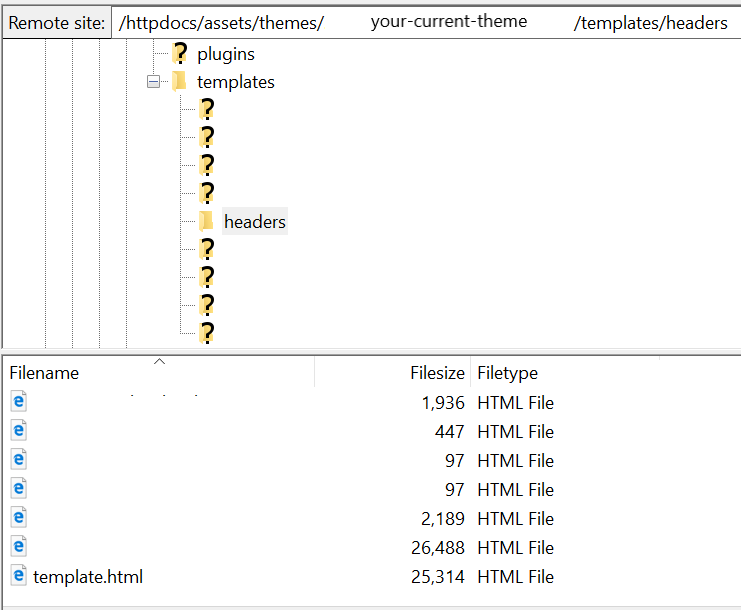
- Add the following Findify script, ex.
<script src="//assets.findify.io/your_store_name.min.js" async defer></script>
in the top of the HTML tag
Step 2: Create Search Results Page
Identify the current theme you are using:
- Find the name of the current theme by opening your Neto Admin dashboard and going to the "Webstore" → "Webstore settings."
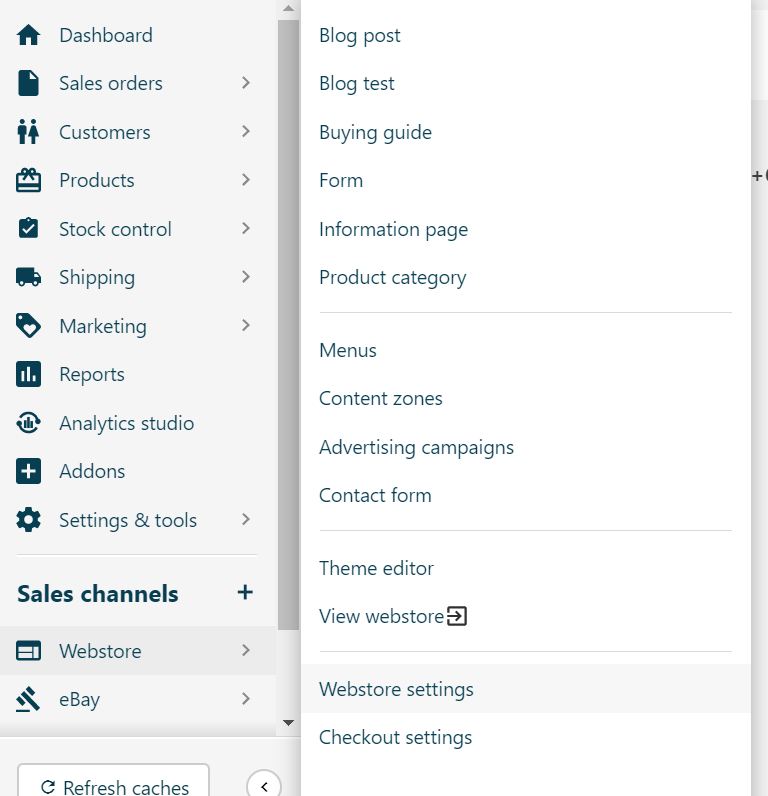
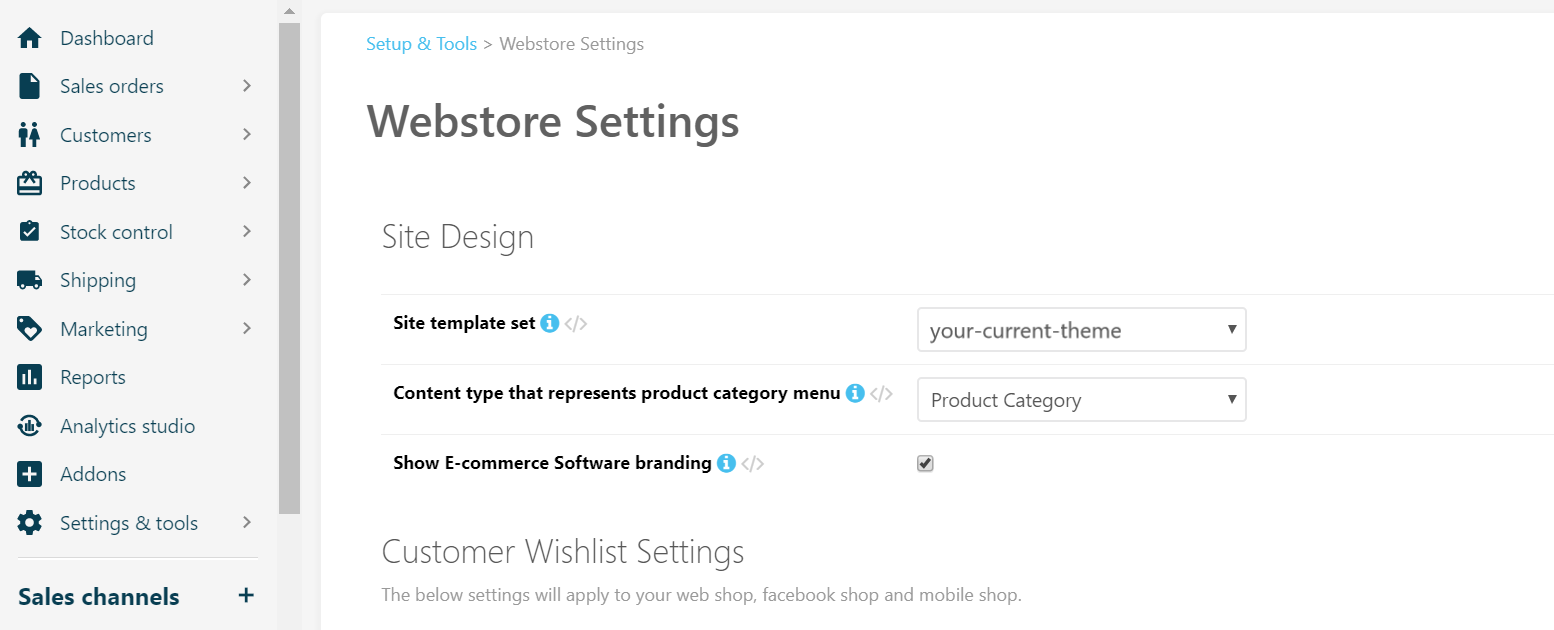
- Find the “Site template set” selector under Site Design. In this selector, you can view all available themes but the currently selected theme - is a live theme. Note down the theme that is currently selected.
Access your website template through FTP:
- With your SFTP login details, you can use an FTP client such as FileZilla, to log into the file server and access your website template and asset files. If you don’t have FileZilla already, please download FileZilla Client and access the website template of your current theme. For more help connecting through FTP client, please refer to this document.
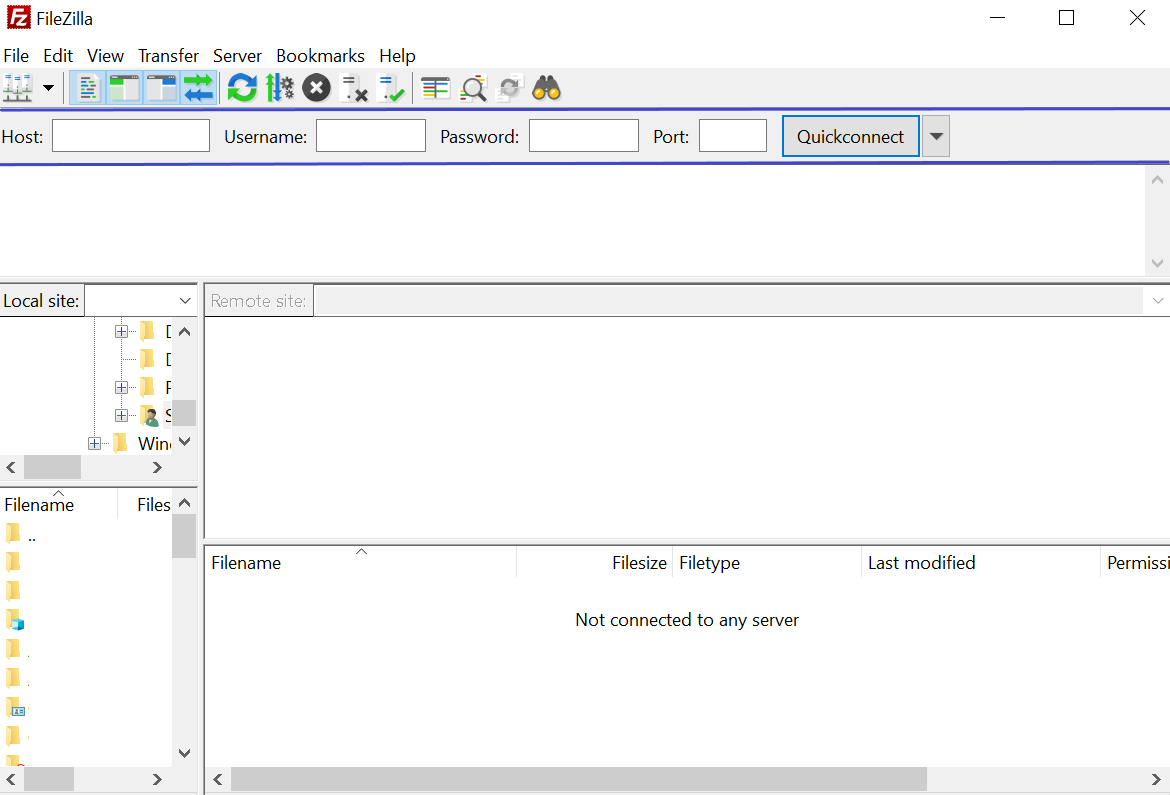
- Once you get access through FileZilla, go to 'httpdocs' → 'assets':
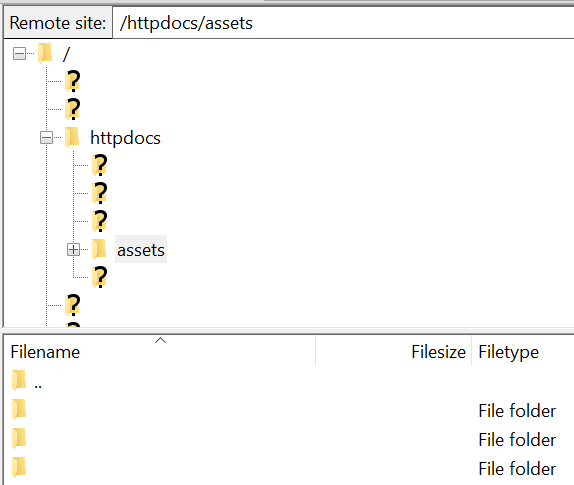
- Within ‘assets’ → click on ‘themes’. Then, select the needed theme and go to 'templates' → 'cms' → 'search_results.template.html' and copy all the code:
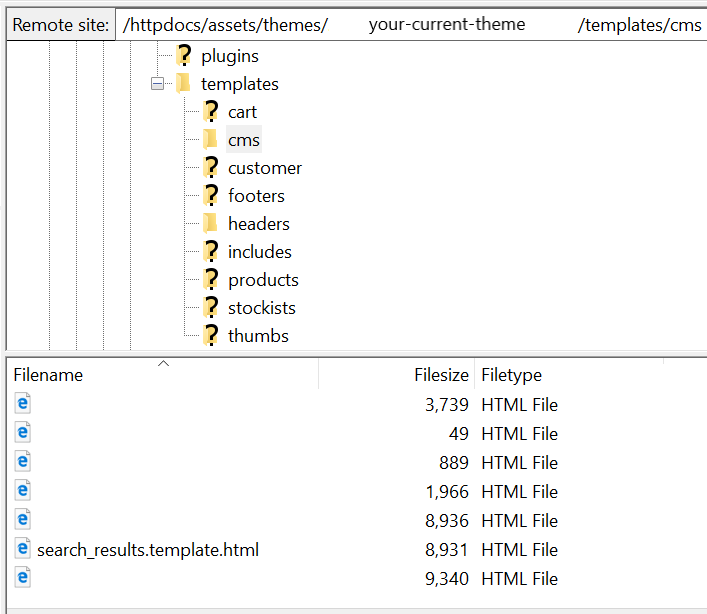
-
Then, create a new file called 'findify_search.template.html' and paste the code you just copied from 'search_results.template.html'
-
This will integrate Findify's search widget there. If necessary clean template from excess components. For example, 'findify_search.template.html' may look like this:
<div class="content">
<div class="catalogue wk_catalogue findify-search-results">
<style type="text/css">.findify-component-spinner,.findify-component-spinner:after{border-radius:50%;width:60px;height:60px}.findify-component-spinner{margin:60px auto 0!important;position:relative;-webkit-transform:translateZ(0);-ms-transform:translateZ(0);transform:translateZ(0);-webkit-animation:findify-component-spinner-animation .7s infinite cubic-bezier(.67,.35,.7,.8);animation:findify-component-spinner-animation .7s infinite cubic-bezier(.67,.35,.7,.8);-ms-transform-origin:50% 50%;-webkit-transform-origin:50% 50%;transform-origin:50% 50%;border-top:3px solid #eaeaea;border-right:3px solid #eaeaea;border-bottom:3px solid #eaeaea;border-left:3px solid #c6c6c6}@-webkit-keyframes findify-component-spinner-animation{0%{-webkit-transform:rotate(90deg);transform:rotate(90deg)}100%{-webkit-transform:rotate(450deg);transform:rotate(450deg)}}@keyframes findify-component-spinner-animation{0%{-webkit-transform:rotate(90deg);transform:rotate(90deg)}100%{-webkit-transform:rotate(450deg);transform:rotate(450deg)}}
</style>
<div data-findify-attr="findify-search-results" data-findify="controlled-tabs" style="min-height: 400px;">
<div class="findify-component-spinner"> </div>
</div>
[%SET [@page_type@]='findify_search'/%]
<div style="display: none;">
[%load_template file:'cms/includes/sidebar.template.html'/%]
</div>
[%breadcrumb%]
[%PARAM *header%]
<ul class="breadcrumb" itemscope itemtype="http://schema.org/BreadcrumbList">
<li itemprop="itemListElement" itemscope itemtype="http://schema.org/ListItem">
<a href="[@config:home_url@]" itemprop="item"><span itemprop="name">Home</span></a>
</li>
[%/PARAM%]
[%PARAM *body%]
<li itemprop="itemListElement" itemscope itemtype="http://schema.org/ListItem">
<a href="[@url@]" itemprop="item"><span itemprop="name">[@name@]</span></a>
</li>
[%/PARAM%]
[%PARAM *footer%]
</ul>
[%/PARAM%]
[%/breadcrumb%]
<h1 class="page-header">
[%url_info name:'page_heading' if:'eq' value:''%]
[%PARAM if_true%]
[@content_name@]
[%/PARAM%]
[%PARAM if_false%]
[%url_info name:'page_heading'%][%end url_info%]
[%/PARAM%]
[%end url_info%]
[%IF [@keywords@] == ''%]
[%FILTER ID:'keywords' if:'ne' value:''%][%NOHTML%][%FILTER ID:'keywords'%][%/FILTER%][%/NOHTML%][%/FILTER%]
[%/IF%]
</h1>
</div>
</div>
</div> <!-- WK catalogue end here-->
</div>
Now Create a page through Neto Admin
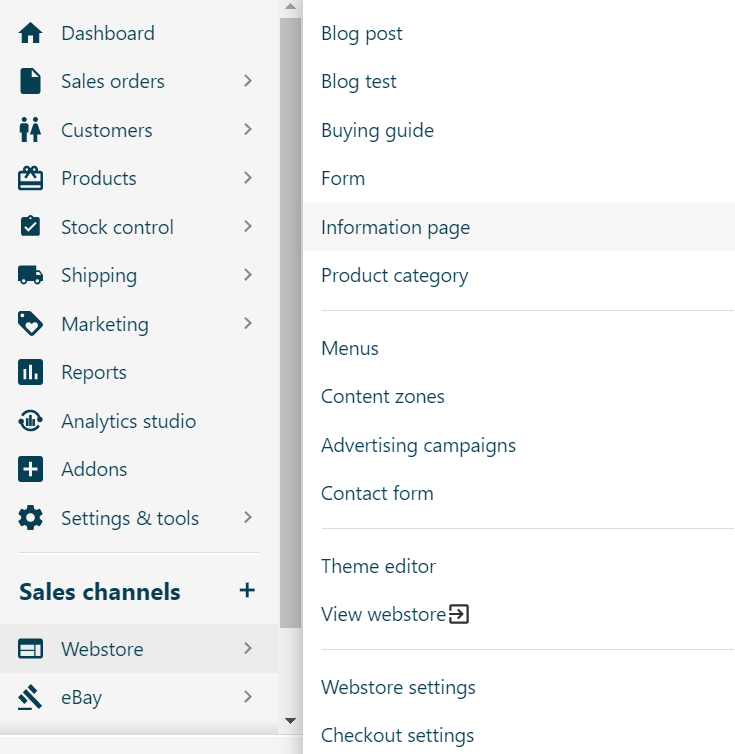
- Open Neto admin and go to “Webstore” on the left side of your dashboard and clicking “Information Page”
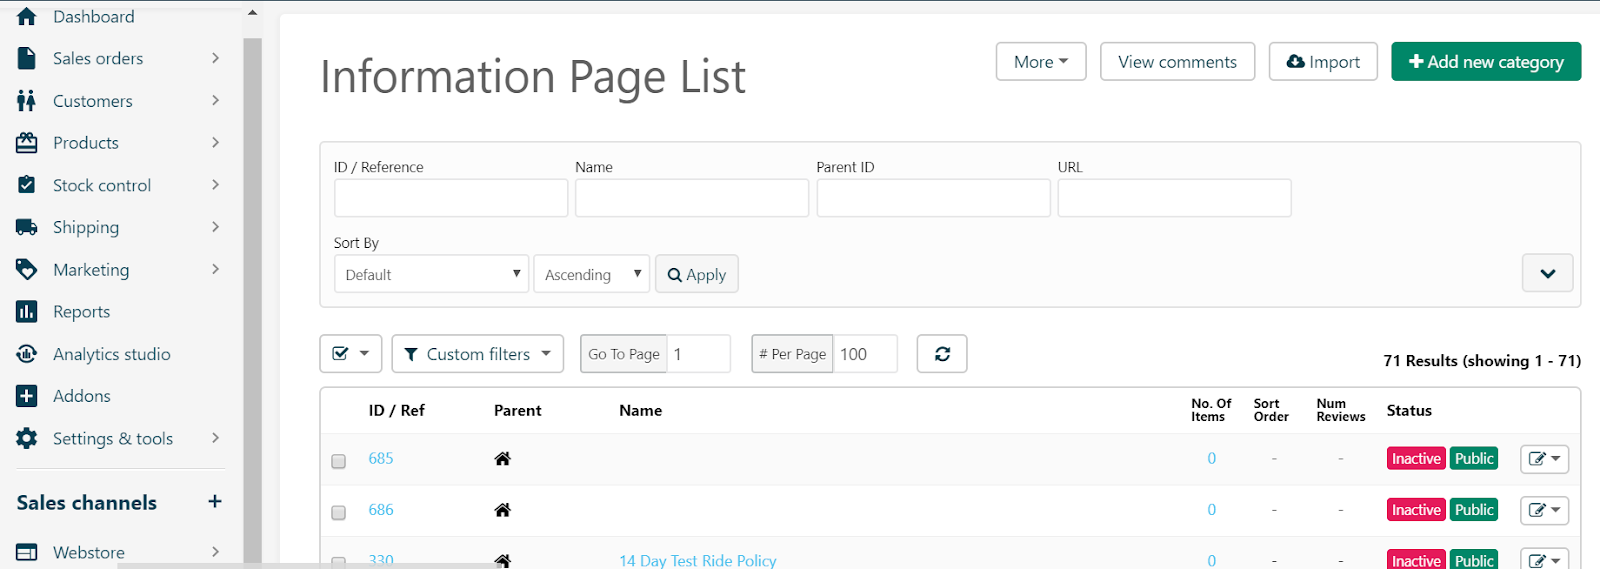
- Once you reach the “Information Page List”, click on 'Add New Category' located on the top right side of your dashboard
- Provide a Name such as 'Search results':
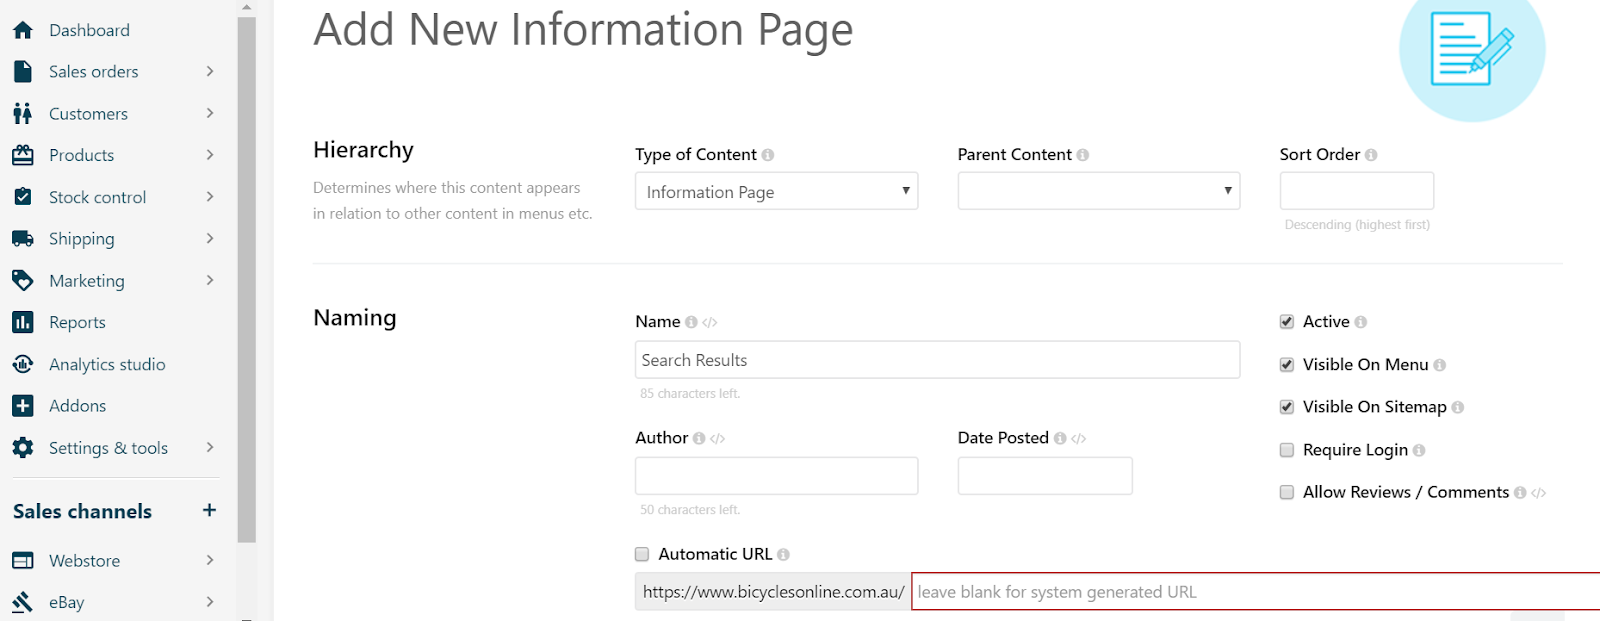
- Setup a pathname for this page, for example: 'search-results' under the Page content section as we have integrated Findify with the template and click on “Continue”.
5)Then, scroll down to Template & Design, find 'Body Template selector’ and select Findify search results.

- Finally, click the 'Save' button.
Step 3: Remove the default Neto search
In order to remove the default search from your Neto store, please remove the class ajax_search from your search input field. The template should be found within 'headers' → ' template.html'.
So, for example, your search input field could look like this:
<input class="form-control ajax_search" value="" id="name_search" autocomplete="off" type="search" aria-label="Input search">
And after removing ajax_search it would look like this:
<input class="form-control" value="" id="name_search" autocomplete="off" type="search" aria-label="Input search">
After this setup, please, proceed on integrating the analytics tracking.
Updated 10 months ago
