FAQ
1. Findify Product Sync
Findify Product Sync
Please, note that the product sync from Neto isn't running in real-time but is based on a regularly exported feed, scheduled to a certain interval in the Neto dashboard.
To confirm the product sync, you can view the time of each export in the Neto Control Panel and time of each import in the Findify Dashboard. Here you can also initiate manual exports/imports.
Find the Findify Export in the Neto CPanel
When you install 'Findify' add-on in Neto, there will be a 'Data Export Template' created in Neto CPanel called 'Findify' in “Settings & tools” → “All settings & tools” → "Data Export Templates":

If you click on it, you will be able to see all related information about the product feed export file.
Change the scheduled time for a product export in Neto
You can change the scheduled time for a product export in Neto.
Access the Findify Add-on through “Settings & tools” → “All settings & tools” → "Data Export Templates".
Click and change "export schedule".
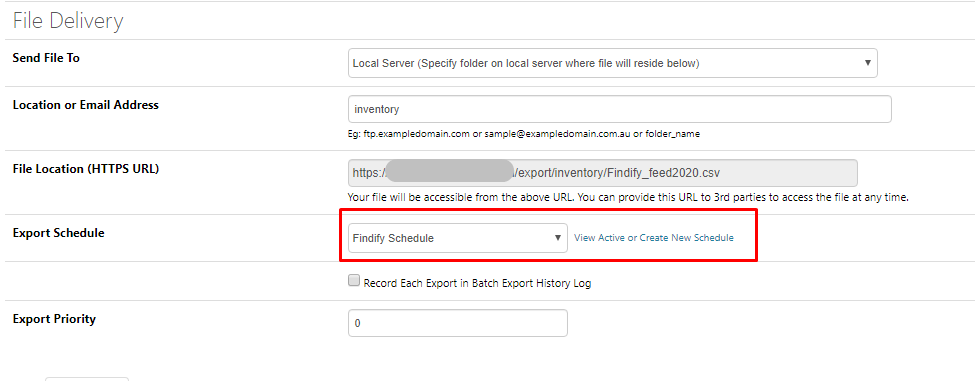
Note: You can run one export every 15 minutes in the Neto dashboard. That means that the interval of Findify is dependent on the total amount of queued exports for all add-ons.
Manually push the feed export
You can push the feed export manually by clicking on 'Generate Data File':
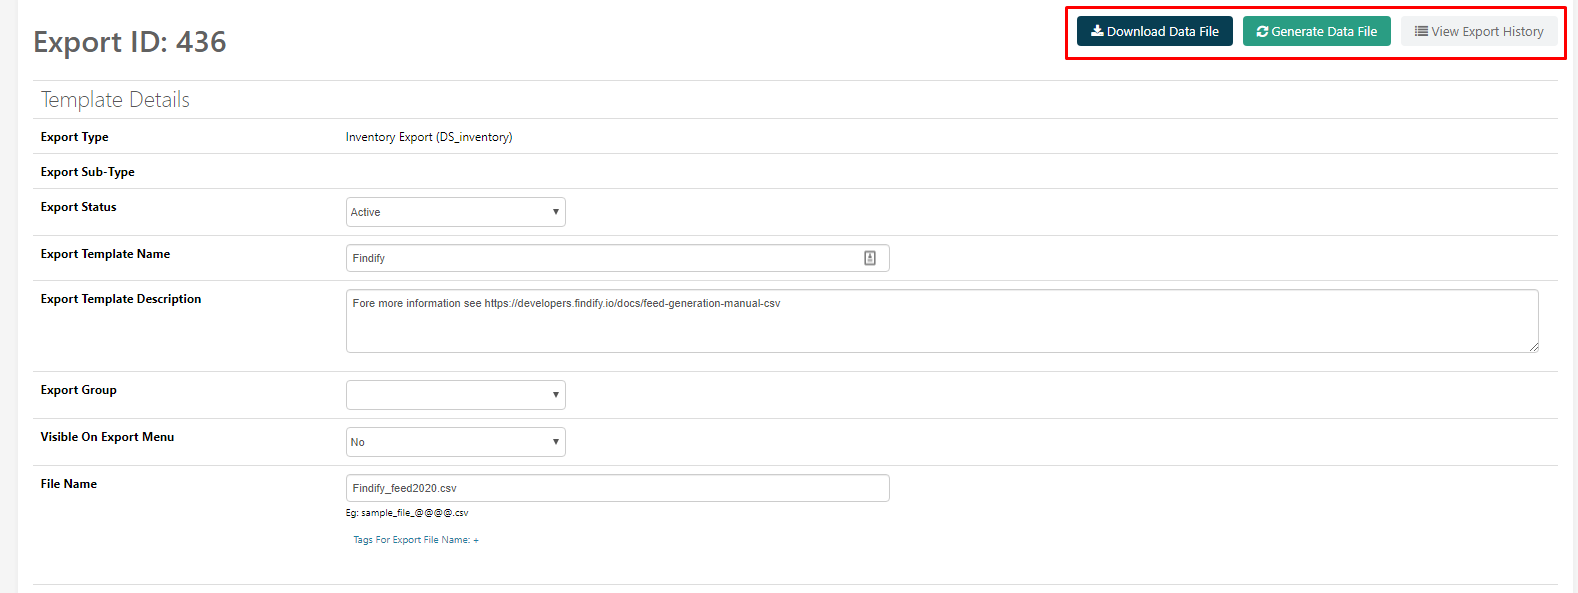
You will then be notified that the export process has been created, which doesn't automatically mean that it has started.
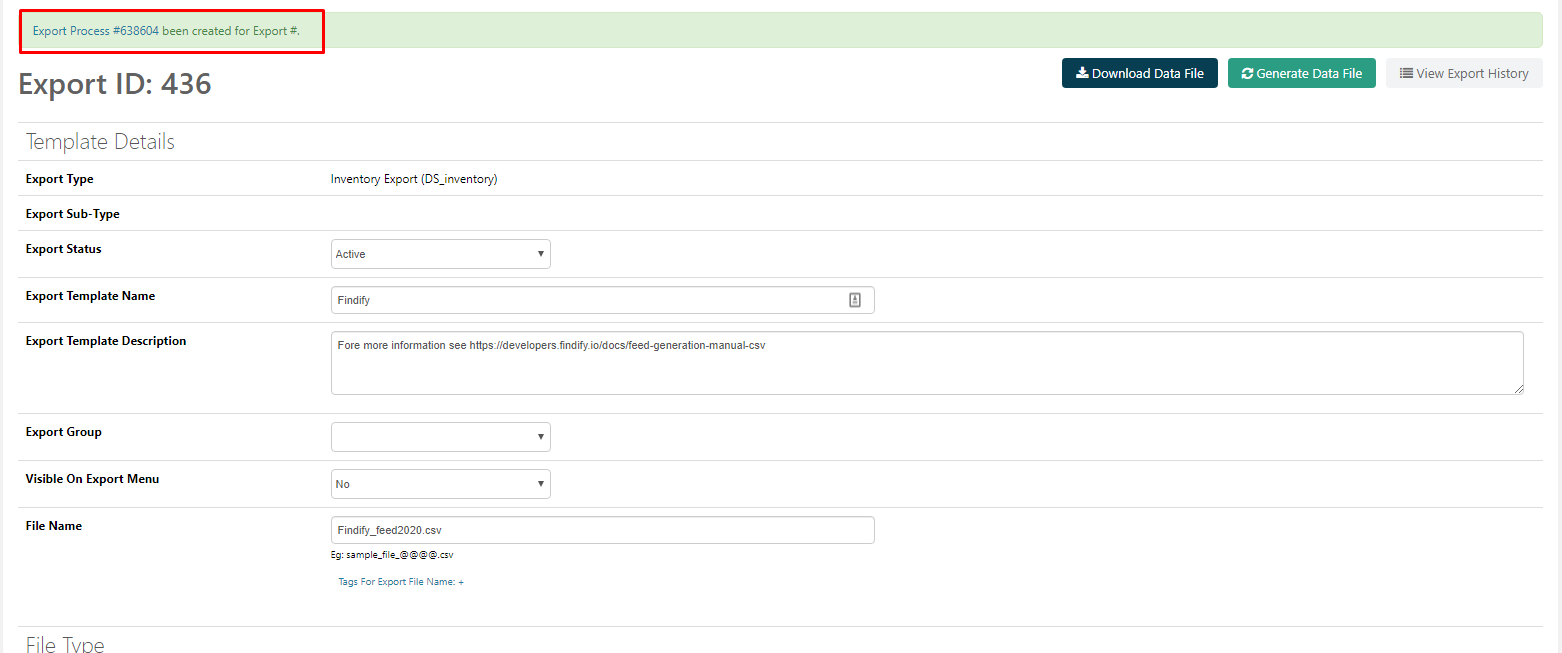
If you click on it, you will see the current status of the process (Pending/Running/Finished). You can also push the feed generation manually by clicking on 'Run Now' button:

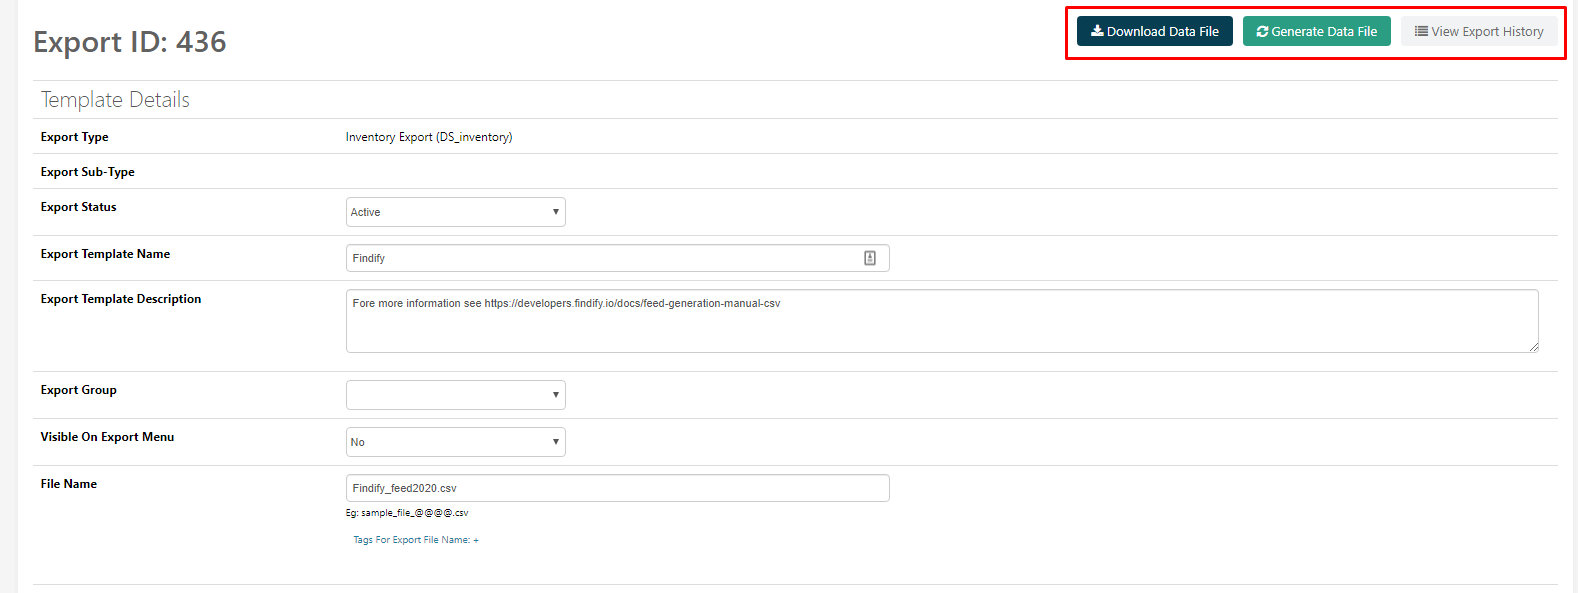
To see the history of all product exports in Neto, please click on 'View Export History' on the Data Export Template page:

How to sync products in Findify
Whenever you change product information in Neto, it will not be directly synced with Findify. There are 2 steps of the product sync:
-
Export updated data from Neto. To do that you need to either wait until a scheduled Findify export process (we are setting the data export template to be processed every 4 hours by default) or push it manually as noted above. Once the export process is set with Status: Finished, then the Findify's product feed file will be updated with the latest data.
-
After that, you would need to sync these updates in Findify, either with the scheduled sync (by default, the schedule is set to every 4 hours) or by pushing the sync manually. To do that, please proceed in our dashboard → "Settings" → "Primary Setup" → "Product Sync", and click on 'Sync Products':

Once the sync is completed, the products will be updated with the latest information in Findify.
2. Findify Smart Collections Sync
Findify does not sync collections from Neto platform into Findify's system in real-time. There are 2 options to keep all collections updated on both platforms:
-
Once you have set up a collection in Neto, you would want to set up this exact collection in Findify in our dashboard → "Smart Collections" → create new collection.
-
There is a scheduled collections sync on a daily basis. In case you need to adjust the scheduler or run a manual collection sync, please contact us at [email protected].
3. How to omit categories from the product feed.
Omit Collections
Use this setup only in rare cases!
Removing categories with this approach may cause issues to Findify's Collections Importer.
If you don't want to show certain categories in Findify's search results/collections, you would need to omit those categories from the product feed export template.
To do that, in your "CPanel" → "Addons" → find Findify add-on → click on "edit".
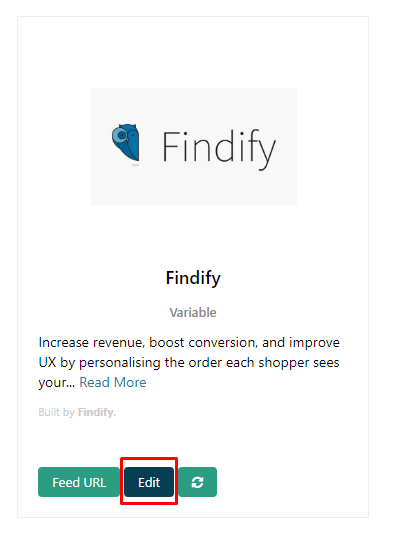
In the Export template section, click on 'Find and Replace' tab:
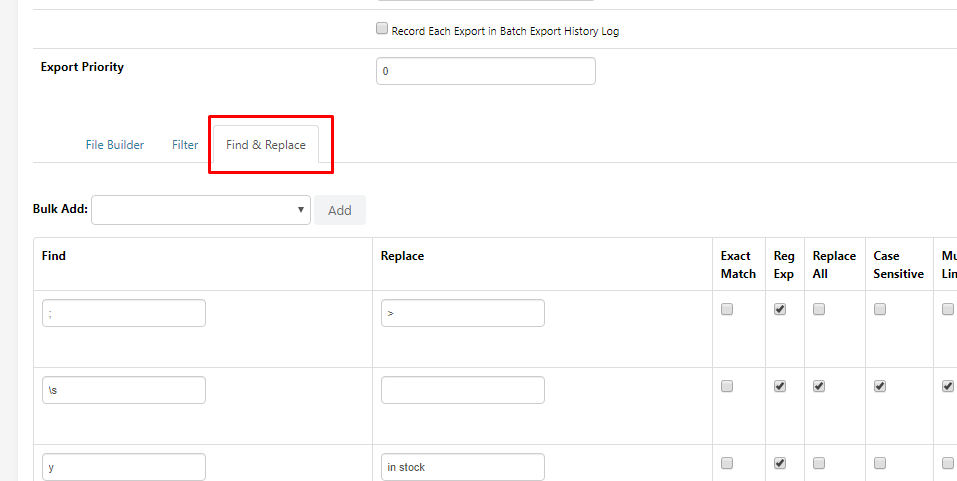
In this section click on 'Add Find and Replace':
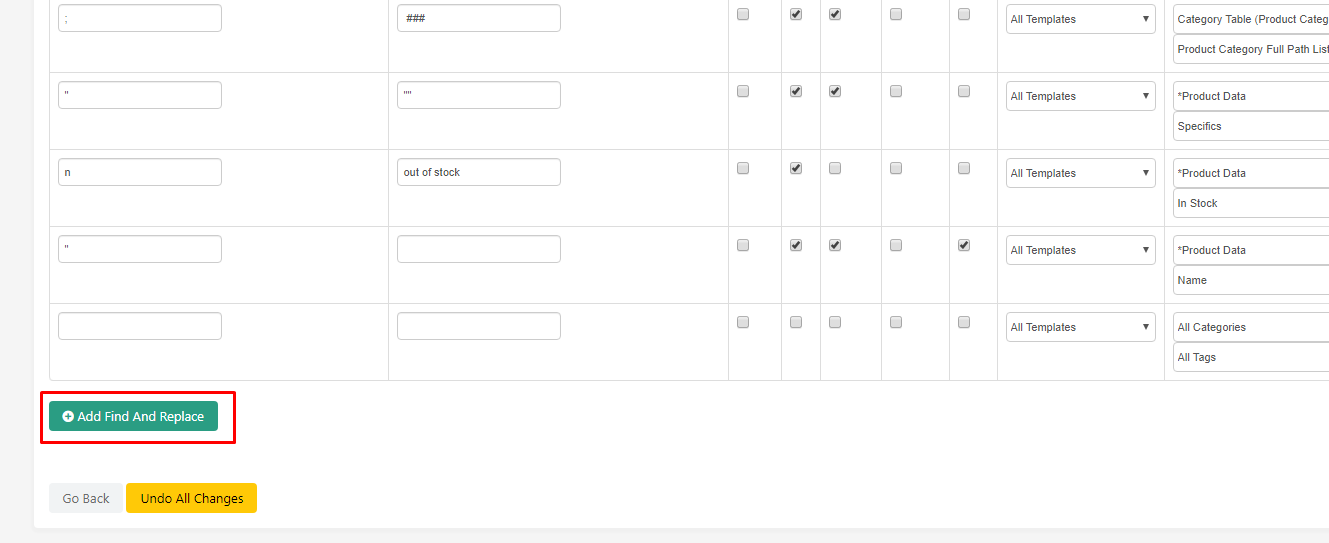
You would need to type in categories into the first input, leave the second one as is, and set the tags field to "Category Table (Product Category)" and "Product Category Full Path List".
If you have a list of categories that you want to omit, you would need to put them into a separate entries. If you want to omit nested, you would need to use this structure: 'Parent category > Child Category':

4. How to export a custom field from Neto to Findify's product feed.
If you want to export a specific custom field for search/customizations purposes, please proceed to your "Neto Cpanel" (store_name/_cpanel) -> Addons" -> find "Findify" app -> click on to edit the product feed:
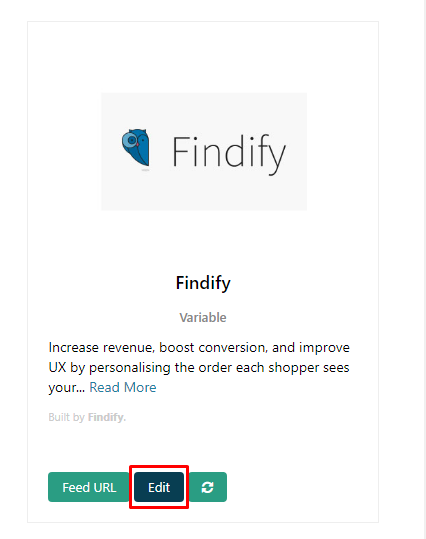
In the product feed section, find 2 text fields:
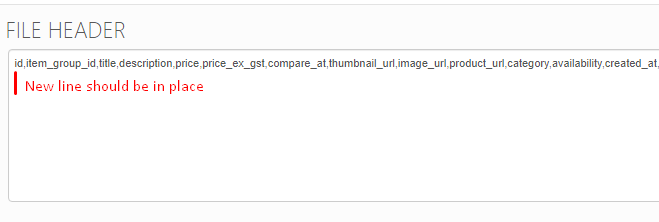
- FILE HEADER - for CSV file header.
- FILE BODY - body - for CSV file logic on which field and how to export it.
The FILE HEADER field should contain the field name separated by a comma.
FILE BODY - body field should contain the logic for corresponding fields in the header. All functions and logic should inserted in double-quotes and should meet the Neto B@SE tag library requirements. For more information, please proceed here.
NOTE: Make sure that after FILE HEADER and FILE BODY - body fields are written in one line, and have the new line inserted after it. This is is crucial for Neto to export the file in the correct CSV format.
Some fields can be exported in the invalid CSV format. In order to make it CSV valid - please wrap the field logic in the [%format%] tag as noted here.
Once the field export updates are completed, you would need to run a manual product sync on Neto side and then on the Findify's side, as noted in the Point 1 of this documentation.
5. How to export Product Specifics from Neto.
In order to export the Product Specifics, you would need to use [@ebay_specifics@] field. However, this field contains information for all specifics at ones.
In order to split the values into a separate fields, you would need to setup this rule:
"[%split delimiter:';' data1:'[@ebay_specifics@]'%][%param *body%][%split delimiter:':' data1:'[@data1@]'%][%param *body%][%if [@^is_field@]%][@data1@][%/if%][%if [@count@] == 0 AND [@data1@] eq 'PRODUCT_SPECIFIC_NAME'%][%set [@^is_field@] %]y[%/set%][%/if%][%if [@^is_field@] AND [@count@] == 1%][%set [@^is_field@] /%][%/if%][%/param%][%/split%][%/param%][%/split%]"
If you have a Product Specific called Size, then in order to export the feed you would put the title 'size' in the FILE HEADER section (Note: this field is exported by default via Findify Addon), and then set the corresponding rule for this field in FILE BODY - body section:
"[%split delimiter:';' data1:'[@ebay_specifics@]'%][%param *body%][%split delimiter:':' data1:'[@data1@]'%][%param *body%][%if [@^is_size@]%][@data1@][%/if%][%if [@count@] == 0 AND [@data1@] eq 'Size'%][%set [@^is_size@] %]y[%/set%][%/if%][%if [@^is_size@] AND [@count@] == 1%][%set [@^is_size@] /%][%/if%][%/param%][%/split%][%/param%][%/split%]"
If you need to export multiple Product Specifics, then please use the option_list solution:
[%set [@hideme@]%][%if [@ebay_specifics@] ne ''%][%option_list values:'[@ebay_specifics@]' option_separator:';' value_separator:':'%][%param *body%][%site_value id:'[@sku@]-[@value@]' body:'[@title@]'/%][%/param%][%/option_list%][%/if%][%/set%]"[%site_value id:'[@sku@]-Colour' type:'load' /%]","[%site_value id:'[@sku@]-Size' type:'load' /%]","[%site_value id:'[@sku@]-ANY_OTHER_PRODUCT_SPECIFIC' type:'load' /%]",...
Updated over 4 years ago
